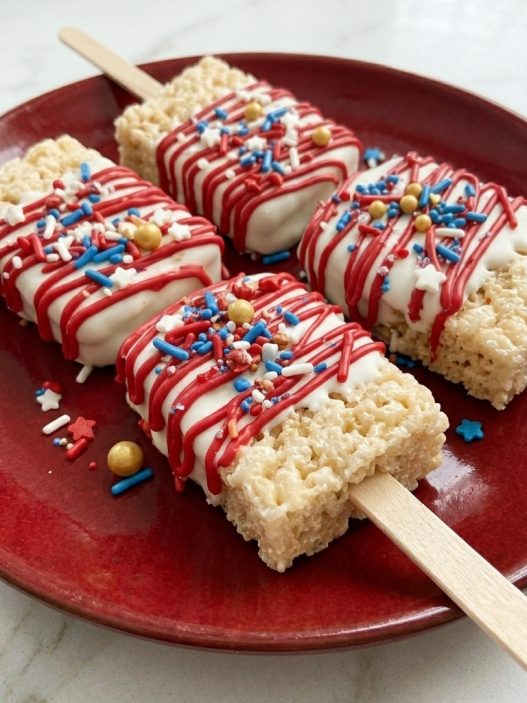


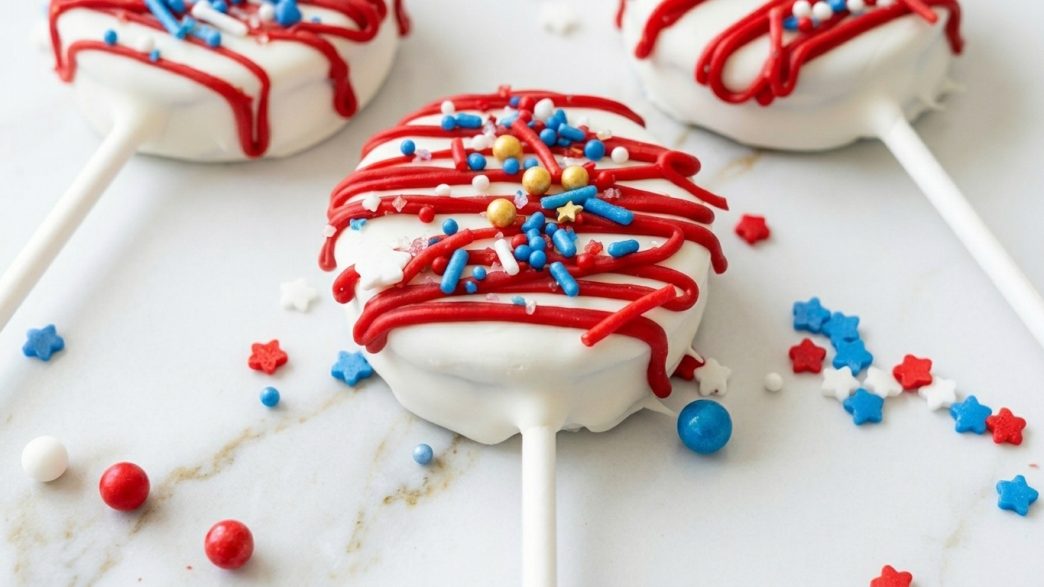
Patriotic Oreo Pops are one of the easiest patriotic desserts you can make for summer parties, and honestly they disappear fast every single time. These 4th Of July Oreos are dipped in creamy vanilla coating, decorated with festive sprinkles, and turned into fun little handheld treats that look way fancier than the effort required.
The red, white, and blue finish gives you those classic Red And Blue Chocolate-covered Oreos vibes without needing complicated decorating skills. Just dip, decorate, chill.
What Makes a Great Patriotic Oreo Pop?
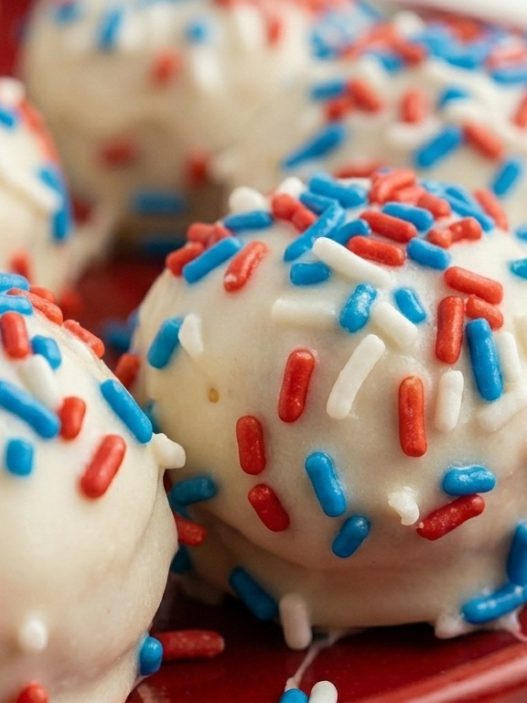
If you love 4th Of July Chocolate Covered Oreos, this version keeps things simple with a no bake dessert approach that’s perfect for cookouts, BBQs, and last-minute party trays. The crunchy Oreo center, smooth white chocolate coating, and colorful toppings make these 4th Of July Oreos Dipped In White Chocolate ridiculously fun to make and eat.
Why You’ll Love It
- Easy no-bake dessert for summer parties
- Perfect make-ahead treat for BBQs and holidays
- Simple ingredients, minimal prep
- Fun to decorate with kids
- Bite-sized and great for serving a crowd
- Festive, colorful, and seriously hard to stop eating
The Oreo Base
The Oreo center is obviously the heart of the whole thing. You get that familiar chocolate cookie crunch with the sweet cream filling holding everything together. It’s nostalgic in the best possible way.
What You’ll Need for the Oreo Base
- 1 package Oreo cookies, classic works best for that nostalgic flavor
- Approximately 40 lollipop sticks or paper straws, helps turn them into easy party treats
- 1/4 cup vanilla candy melts, used like edible glue to keep the cookies secure
The Vanilla Coating
This coating is what gives the pop that smooth bakery-style finish. Instead of just using white chocolate chips, this version combines candy melts with a little coconut oil for a silkier texture that coats the cookies more evenly.
What You’ll Need for the Vanilla Coating
- 2 bags white candy melts or vanilla melting wafers, melts smoother than regular chocolate
- 2 tablespoons coconut oil, helps loosen the coating without making it greasy
- 1 teaspoon vanilla extract, adds a little extra flavor depth
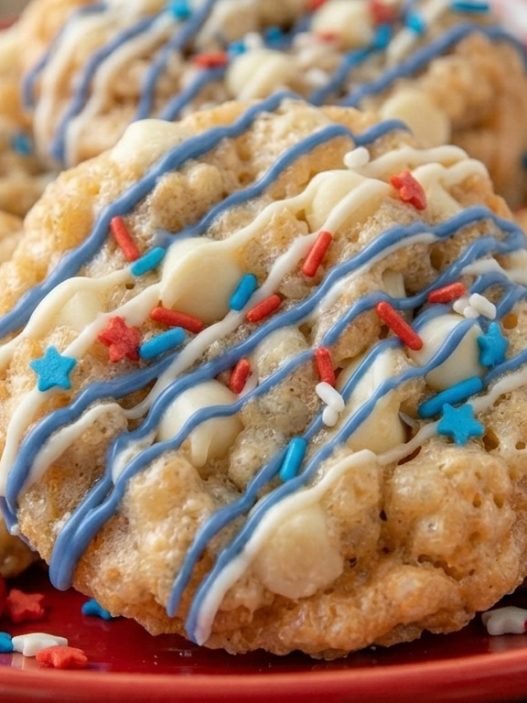
The Patriotic Toppings
This is where things get fun. You can keep them super classic with sprinkles or go all out with drizzle, sanding sugar, crushed candies, whatever feels festive.
You can pick and choose what you want from the toppings below!
What You’ll Need for the Toppings
- Red, white and blue sprinkles, adds crunch and color
- Colored sugar crystals, gives sparkle and texture
- Mini star sprinkles, extra cute for holiday parties
- Red and blue candy drizzle, optional but very fun
- Crushed freeze-dried strawberries, adds a tangy little twist
How to Make Patriotic Oreo Pops
Prep the Oreo Pops
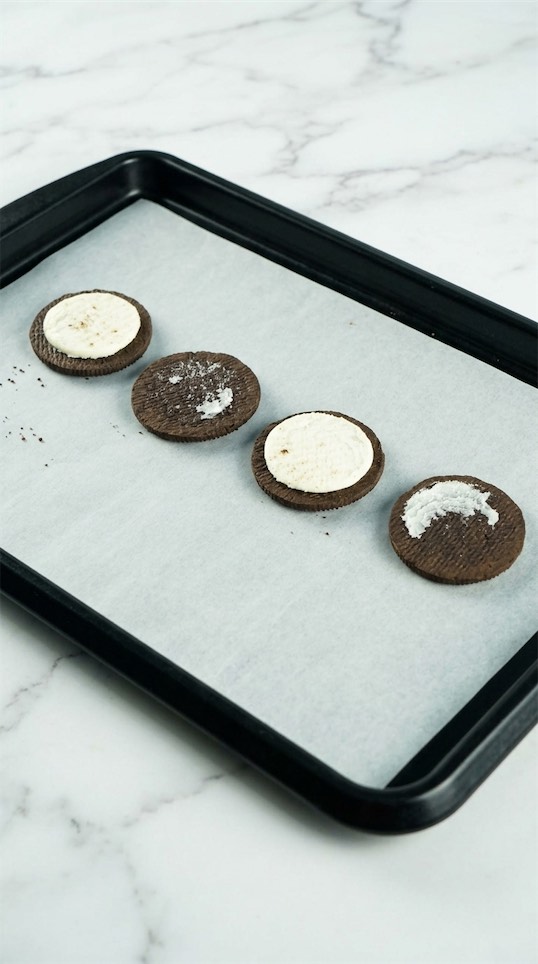
Carefully twist open each Oreo cookie without scraping out the filling.
Press a lollipop stick gently into the cream center, then dab a little melted vanilla coating right on top before placing the cookie lid back on.
That little bit of melted coating acts like glue and helps everything stay together later.
Place the assembled cookies on a parchment-lined tray and chill them for about 15-20 minutes so they firm up properly.
Melt the Coating
Add the vanilla candy melts and coconut oil to a heatproof bowl.
Warm them slowly using short microwave bursts or over a double boiler until smooth and glossy.
You want the texture loose enough for dipping, but not watery. Kind of like thick pancake batter. If it feels too thick, add another tiny spoonful of coconut oil.
Dip the Oreo Pops
Hold each chilled Oreo pop by the stick and dip it fully into the melted coating.
Gently tap off the excess coating against the side of the bowl so you don’t end up with giant puddles underneath.
While the coating is still wet, immediately add your sprinkles and toppings.
The coating sets pretty quickly, especially if your kitchen is cool.
Add the Decorative Drizzle
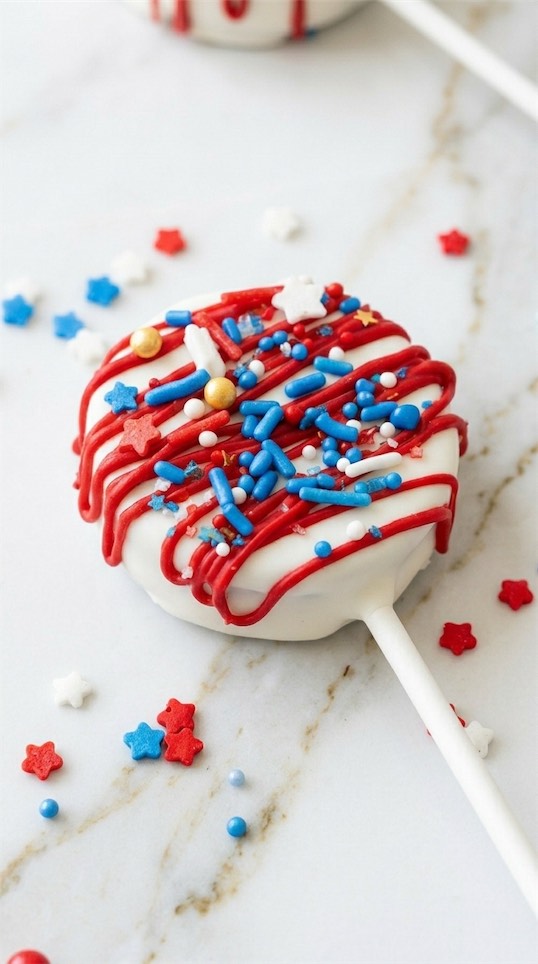
Once the coating has firms up slightly, drizzle extra red or blue candy melts over the tops for that bakery-style finish.
Let Them Set
Place the finished Oreo pops back onto parchment paper and let them set completely for about 20 minutes at room temperature, or faster in the fridge.
Once they’re firm, they’re ready to serve.
Optional Variations and Easy Swaps
One of the best things about Oreo pops is how flexible they are.
You can make them more colorful, more chocolatey, or slightly less sweet depending on your mood.
A few easy ideas:
- Swap golden Oreos for a vanilla-cookie version
- Use dark chocolate coating instead of vanilla
- Add crushed pretzels for salty crunch
- Make them spicy-sweet with cinnamon sugar sprinkles
- Use gluten-free sandwich cookies if needed
- Drizzle with peanut butter for a richer flavor
- Add peppermint extract for a holiday version later in the year
Storing, Reheating, or Meal Prep
These Oreo pops store surprisingly well, which makes them great for prepping ahead before parties or holidays.
Keep them in an airtight container with parchment paper between layers so the coating stays nice and smooth.
They’ll stay fresh at room temperature for about 3 days, or in the refrigerator for up to a week.
If refrigerated, let them sit out for a few minutes before serving so the cookie texture softens slightly again.


Patriotic Oreo Pops
Description
These patriotic Oreo pops are a simple no bake dessert made with Oreo cookies, creamy vanilla coating, and festive red, white, and blue sprinkles. Perfect for summer parties, BBQs, and Fourth of July celebrations.
Ingredients
For the Oreo Pops
For the Coating
For the Decorations
Instructions
Prepare the Oreo Pops
-
Line a baking sheet or large tray with parchment paper. Carefully twist open each Oreo cookie and gently press a lollipop stick into the cream filling. Add a small amount of melted vanilla candy melts onto the filling before placing the top cookie back on. This helps secure the cookie and prevents the pops from separating during dipping.
-
Place the assembled Oreo pops onto the prepared tray and refrigerate them for about 15 minutes until firm.
Melt the Coating
-
Add the white candy melts, coconut oil, and vanilla extract to a heat-safe mixing bowl. Heat in the microwave in 30-second intervals, stirring well between each interval, until the mixture is smooth and glossy.
-
The coating should be fluid enough for dipping but still thick enough to cling to the cookies evenly. If needed, add an extra teaspoon of coconut oil to loosen the texture slightly.
Dip the Oreo Pops
-
Remove the chilled Oreo pops from the refrigerator. Hold each pop by the stick and dip it fully into the melted coating, gently tapping the stick against the side of the bowl to remove excess coating.
-
Place each coated pop back onto the parchment-lined tray. Work carefully and slowly to avoid cracks or broken cookies.
Add the Decorations
-
While the coating is still wet, sprinkle the Oreo pops generously with the red, white, and blue sprinkles. Melt the red and blue candy melts in separate small bowls until smooth, then drizzle them over the pops using a spoon or piping bag.
-
The coating will begin setting quickly, so it is best to decorate a few pops at a time.
Chill Until Set
-
Transfer the decorated Oreo pops to the refrigerator and chill for about 20 minutes until the coating is completely firm and smooth to the touch.
-
Once chilled, the pops are ready to serve. The coating should look glossy and crisp while the cookie center stays tender and crunchy.
Note
Store the Oreo pops in an airtight container in the refrigerator for up to 1 week.
Allow the pops to sit at room temperature for 5 minutes before serving for the best texture.
If the coating becomes too thick while dipping, gently reheat it in short intervals and stir until smooth again.
Using parchment paper helps prevent the pops from sticking while the coating sets.