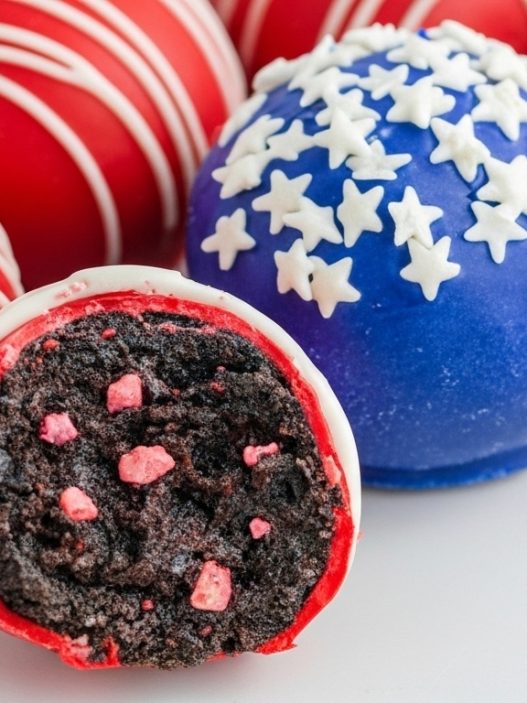


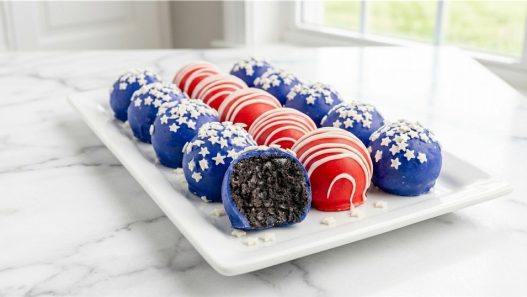
These Patriotic Oreo Balls come together with simple ingredients and are perfect for summer entertaining, cookouts and BBQs. They are an easy no bake summer dessert.
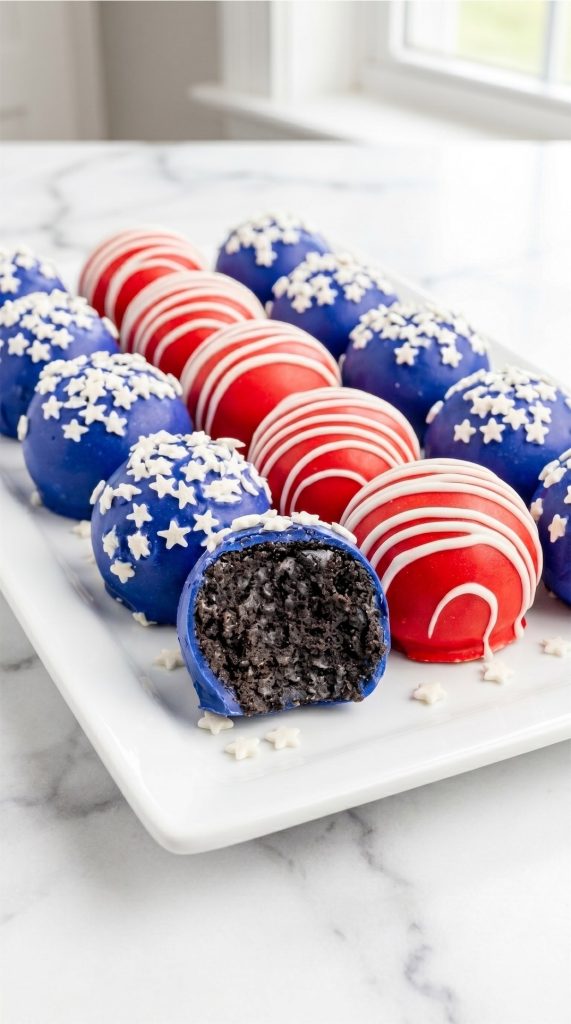
If you’re looking for easy 4th Of July Desserts, these bite-sized treats are always a crowd favorite. They’re creamy in the middle, coated in red and blue candy melts, and honestly such a fun dessert idea for parties, BBQs, and holiday trays.
What Makes a Great Red, White & Blue Oreo Truffle Bite?
Why You’ll Love It
- Easy no-bake dessert for summer parties
- Perfect make-ahead treat for BBQs and holidays
- Simple ingredients, minimal prep
- Fun to decorate with kids
- Bite-sized and great for serving a crowd
- Festive, colorful, and seriously hard to stop eating
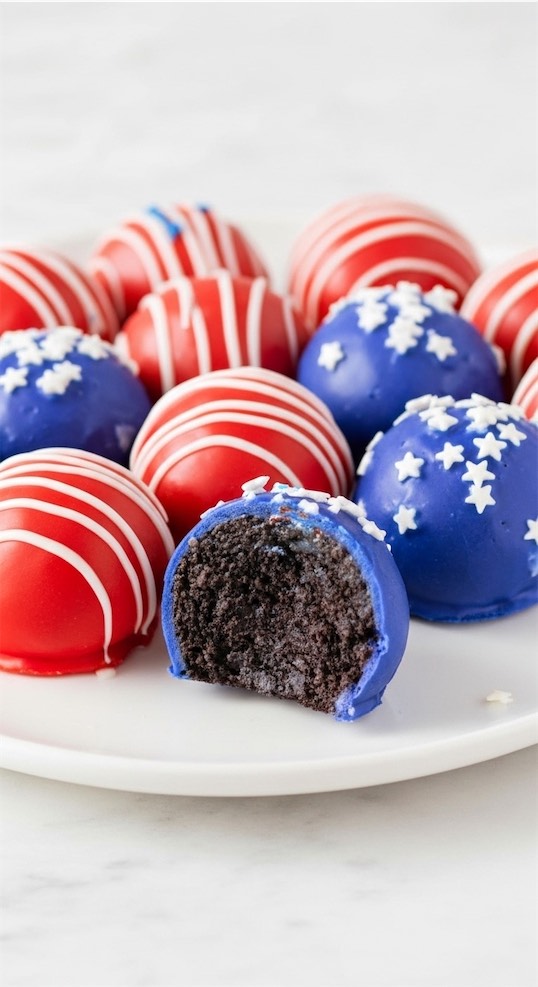
The Oreo Cookie Filling
The filling is basically cookies and cream cheesecake vibes rolled into bite-sized dessert form.
The crushed chocolate sandwich cookies create that familiar deep cocoa flavor, while the cream cheese keeps everything soft, rich, and slightly tangy.
You want the mixture smooth enough to roll easily, but still thick enough to hold shape once chilled.
What You’ll Need for the Oreo Filling
- ▢1 lb chocolate sandwich cookies, crushed into fine crumbs for that classic cookies-and-cream base
- ▢8 oz full-fat cream cheese, softened so it blends smoothly
- ▢1 tsp vanilla extract, adds a softer bakery-style flavor
- ▢1 pinch sea salt, helps balance all the sweetness
The Patriotic Candy Coating
This outer shell is where all that patriotic energy happens. Instead of plain chocolate, colored candy coating gives the truffles that bright, glossy finish that instantly screams celebration.
The coating also keeps the centers soft and creamy while adding a little snap when you bite into them.
What You’ll Need for the Candy Coating
- ▢10 oz red candy coating wafers, melted until smooth
- ▢10 oz blue candy coating wafers, for the second batch
- ▢1/2 tsp coconut oil, optional but helpful for thinning the coating
- ▢1/3 cup white melting chocolate, for drizzling over the top
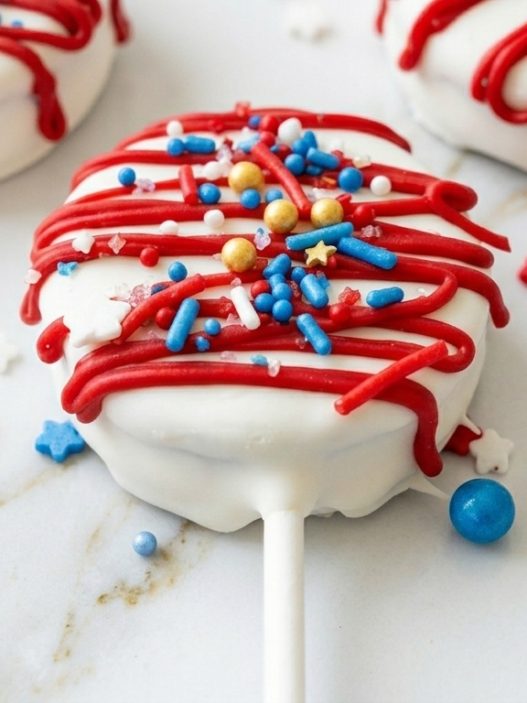
The Finishing Decorations
The sprinkles and drizzle give the truffles texture, contrast, and that bakery-style finish that makes people think you worked harder than you actually did.
Love that for us.
What You’ll Need for the Toppings
- ▢White star sprinkles, for a festive finish
- ▢Red, white, and blue sanding sugar, adds sparkle and crunch
- ▢Mini chocolate pearls, optional but super fun
- ▢Extra cookie crumbs, because why not
How to Make Red, White & Blue Oreo Truffle Bites
Crush the Cookies
Add the chocolate sandwich cookies to a food processor and pulse until they become very fine crumbs.
You don’t want large chunks here because smoother crumbs create a creamier filling.
Mix the Filling
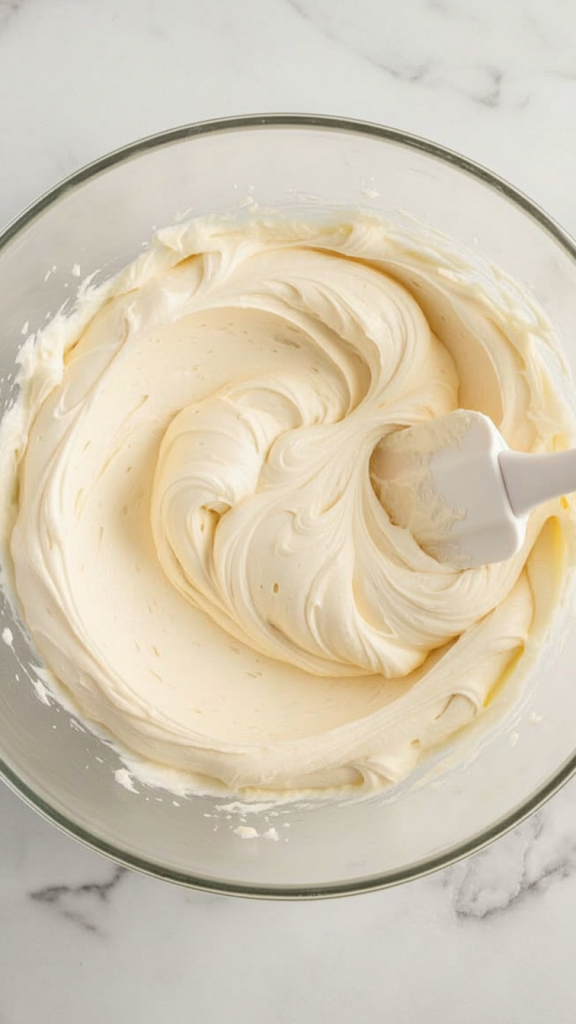
Beat the softened cream cheese with vanilla and salt until smooth and fluffy.
Add the cookie crumbs and mix until everything comes together into a thick dough-like mixture.
It might look slightly messy but should hold together when pressed.
Roll the Truffle Bites
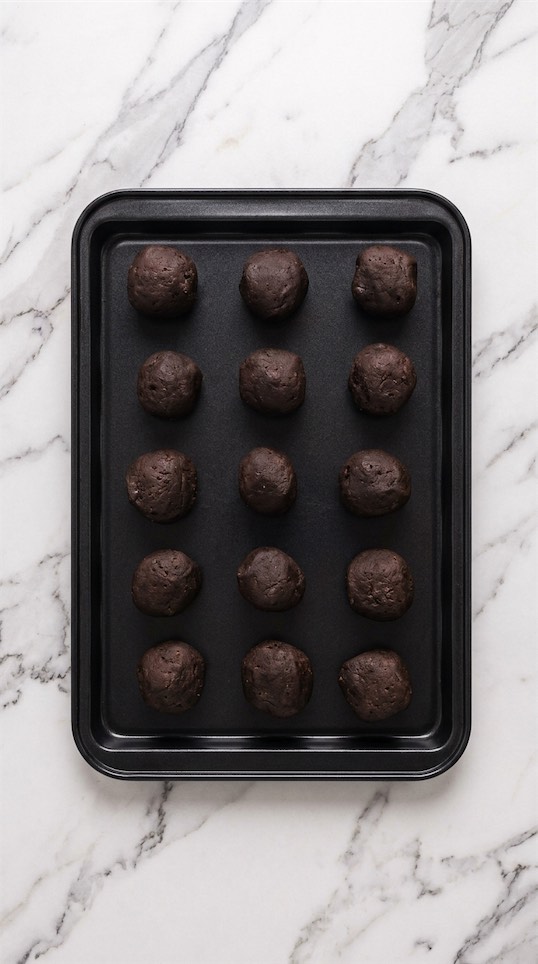
Scoop small portions of the mixture and roll them between your palms until smooth.
Place them onto parchment-lined trays with a little space between each one.
If the mixture gets sticky, pop it into the fridge for a few minutes. Cold hands help too, so try running your hands under the cold water tap!
Chill Until Firm
Transfer the trays to the refrigerator and chill until the balls feel firm to the touch.
Usually around 1 to 2 hours works perfectly.
This step matters because warm truffles plus melted coating equals absolute chaos.
Melt the Candy Coating
Melt the red candy wafers in a heat-safe bowl using short microwave bursts, stirring often, until smooth.
Repeat separately with the blue coating.
If the coating feels too thick, stir in a tiny bit of coconut oil. Just enough to make dipping easier.
Dip & Decorate
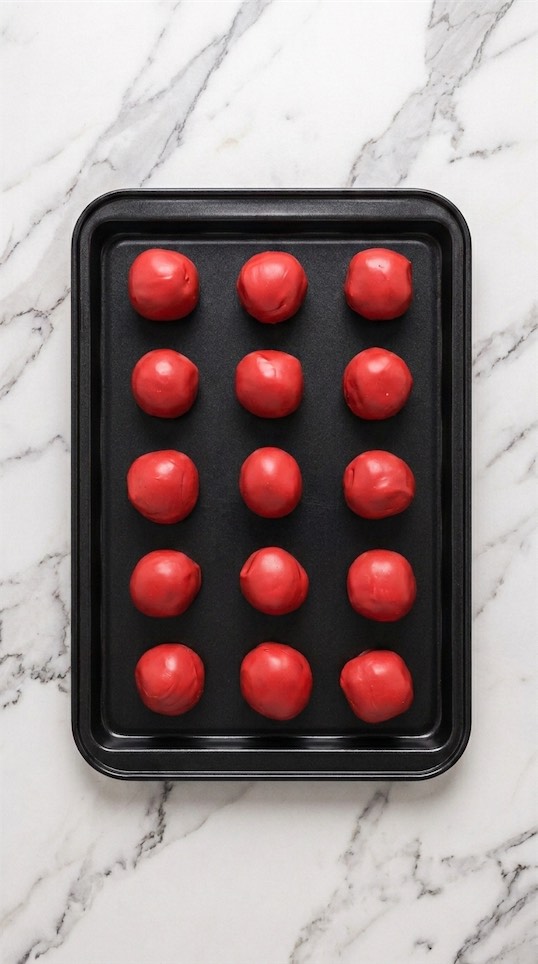
Using a fork or dipping tool, coat each chilled truffle completely in the melted candy coating.
Let the excess drip off before placing them back onto the tray or parchment paper.
Immediately add sprinkles before the coating sets.
The timing here is important because candy melts harden fast.
Add the White Chocolate Drizzle
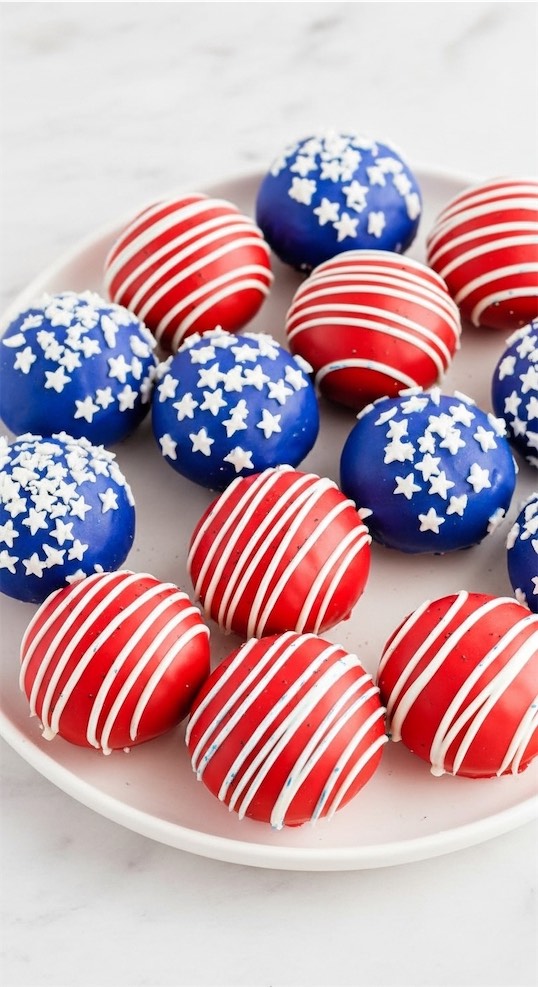
Melt the white chocolate until smooth, then drizzle thin lines over the coated truffles using a spoon or piping bag.
This part is messy in the best possible way.
Chill One More Time
Pop the finished truffles back into the refrigerator for about 10 to 15 minutes so the coating fully sets.
After that? Ready to eat!
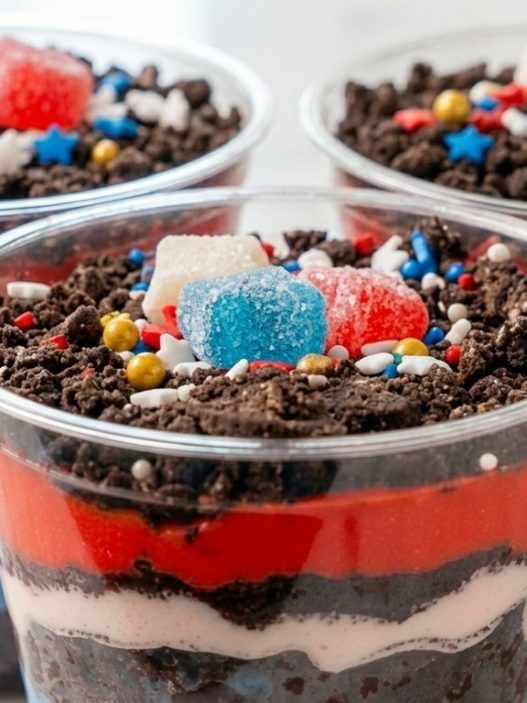
Easy Variations & Customizations
One of the best things about Oreo truffles is how flexible they are. You can swap flavors, colors, toppings, basically whatever fits the vibe or holiday.
Fun Ways to Change Them Up
- Use golden sandwich cookies instead of chocolate ones
- Swap vanilla cream cheese frosting for cream cheese
- Add peppermint extract for a winter version
- Make them spicy-sweet with cinnamon candy coating
- Drizzle dark chocolate instead of white
- Use different sprinkle colors for birthdays or holidays
- Add crushed freeze-dried strawberries to the filling
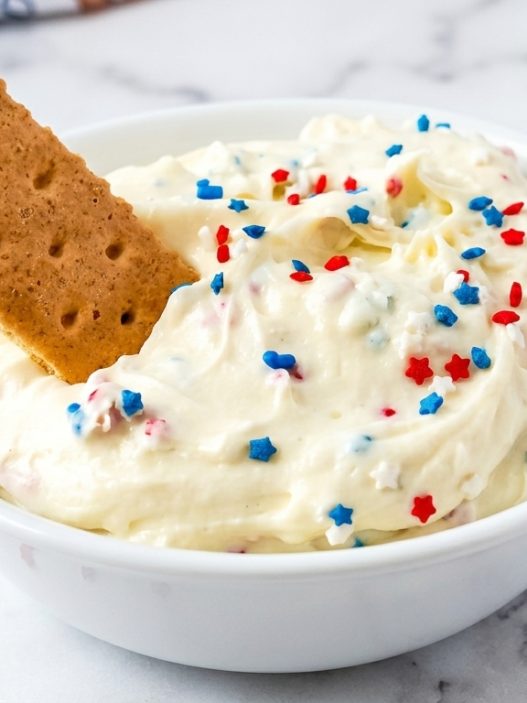
Toppings, Add-Ons & Extra Flair
A good topping situation makes these feel bakery-level fancy with almost zero effort. Plus, everyone gets weirdly excited about dessert sprinkles. It’s just a fact.
Favorite Finishing Ideas
- Flaky sea salt for sweet-salty contrast
- Crushed pretzels for crunch
- Edible glitter for extra sparkle
- White chocolate curls
- Mini marshmallows
- Patriotic sprinkle mixes
- Crushed peppermint candies for winter versions
Storing, Reheating & Make-Ahead Tips
These Oreo truffle bites store beautifully in the refrigerator, which makes them perfect for party prep.
Keep them in an airtight container and they’ll stay fresh for about 5 days.
You can also freeze them for up to 2 months. Just let them thaw in the fridge before serving so the centers stay creamy.


Patriotic Oreo Balls Recipe
Description
These festive no bake Oreo balls are made with crushed chocolate sandwich cookies, cream cheese, and colorful candy coating for an easy patriotic dessert. Perfect for 4th of July parties, summer BBQs, and holiday dessert trays.
Ingredients
Oreo Filling
Candy Coating
Decorations
Instructions
Prepare the Baking Trays
-
Line 2 large baking trays or plates with parchment paper and set them aside. This will prevent the Oreo balls from sticking while chilling and decorating.
Crush the Cookies
-
Add the chocolate sandwich cookies to a food processor and pulse until fine crumbs form. The texture should look even and sandy with no large cookie pieces remaining.
Mix the Filling
-
Place the softened cream cheese into a large mixing bowl and beat with a hand mixer until smooth and creamy. Add the cookie crumbs, vanilla extract, and sea salt, then mix until a thick, uniform filling forms. The mixture may look crumbly at first, but it will come together as you mix.
Roll the Oreo Balls
-
Use a small cookie scoop or spoon to portion the filling into even pieces. Roll each portion gently between your hands until smooth, then place them onto the prepared trays. Transfer the trays to the refrigerator and chill for about 90 minutes, or until firm.
Melt the Blue Coating
-
Place the blue candy melts into a microwave-safe bowl and heat in 30-second intervals, stirring well between each interval until smooth and glossy. Stir in a small amount of coconut oil if the coating seems too thick for dipping.
Dip the First Batch
-
Use a fork or dipping tool to lower each chilled Oreo ball into the melted blue coating. Gently tap the fork against the side of the bowl to remove excess coating, then place the coated balls back onto the parchment paper. Immediately decorate with sprinkles before the coating sets.
Melt the Red Coating
-
Repeat the melting process with the red candy melts in a clean microwave-safe bowl. Heat slowly and stir often until the coating is smooth and fully melted.
Coat the Remaining Oreo Balls
-
Dip the remaining chilled Oreo balls into the red coating one at a time. Let the excess coating drip off before returning them to the tray. The candy coating should look smooth and glossy as it sets.
Add the White Drizzle
-
Place the white melting wafers into a small microwave-safe bowl and heat in short intervals until melted and smooth. Transfer the melted chocolate to a piping bag or spoon and drizzle thin lines over the red coated Oreo balls.
Chill Until Set
-
Return all of the decorated Oreo balls to the refrigerator for about 10 minutes, or until the coating is firm. The outside should feel set while the centers remain soft and creamy.
Note
Store the Oreo balls in an airtight container in the refrigerator for up to 5 days.
For longer storage, freeze the Oreo balls for up to 2 months and thaw in the refrigerator before serving.
If the candy coating becomes too thick while dipping, gently reheat it in short intervals and stir until smooth again.
Chilling the Oreo balls thoroughly before dipping helps keep them firm and makes coating much easier.