



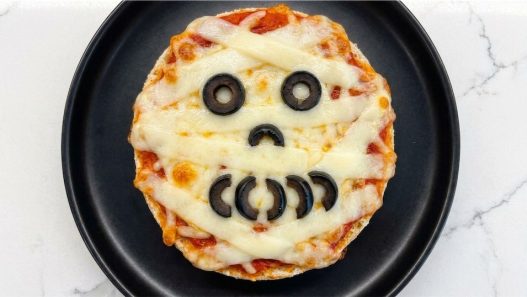
Need a quick Halloween snack that’s fun to make and even more fun to eat? These Halloween Mummy Mini Pizzas come together with refrigerated biscuit dough, pizza sauce, mozzarella cheese, and black olives, making them perfect when you want something festive without a lot of effort.
What Makes a Great Halloween Mummy Mini Pizza?
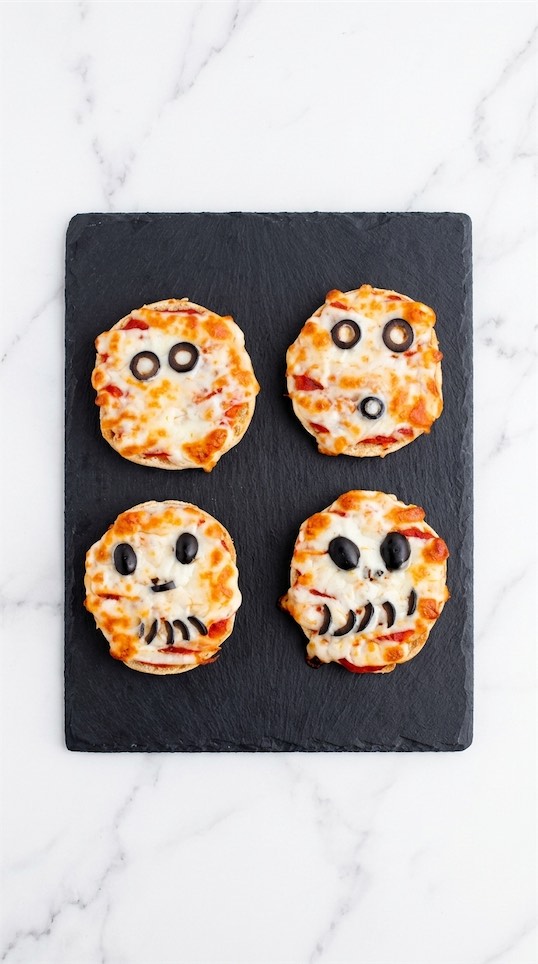
They’re ready in about 30 minutes and are great for Halloween parties, after school snacks, classroom celebrations, or family movie nights. Y
ou can stick with biscuit dough for a soft, fluffy crust or use refrigerated pizza dough if you prefer a more traditional pizza base.
Why You’ll Love It
- Cooks in 30 minutes with simple, everyday ingredients
- Perfect for Halloween parties or Halloween movie nights
- Kid friendly and fun to decorate together
- Easy to customize with your favorite pizza toppings
- Cute, festive, and guaranteed to be a hit with both kids and adults
The Pizza Base
These little mummy pizzas start with refrigerated biscuit dough, which bakes up soft, fluffy, and golden around the edges.
Or, if you prefer a more traditional pizza crust, you can use refrigerated store bought pizza dough instead. Simply roll it out, cut it into 8 small circles, and continue with the recipe as written. It’s an easy swap that gives the pizzas a slightly crispier bite while keeping all the spooky fun.
What You’ll Need for the Pizza Base
- 1 8 count can refrigerated biscuits, the classic choice for soft, fluffy mini pizzas
- Or 1 tube refrigerated pizza dough, cut into 8 equal circles for a more traditional pizza crust
- 1 tbsp olive oil, helps the edges bake up golden
- 1 tsp Italian seasoning, adds a little extra flavor to the crust
The Pizza Sauce
A rich tomato pizza sauce gives these mini pizzas classic pizza flavor without making them soggy.
Spread a thin layer so the cheese stays front and center.
What You’ll Need for the Sauce
- 3/4 cup pizza sauce, smooth and well seasoned
- 1 pinch garlic powder, boosts savory flavor
- 1 pinch dried oregano, adds a little extra pizza shop taste
The Mummy Toppings
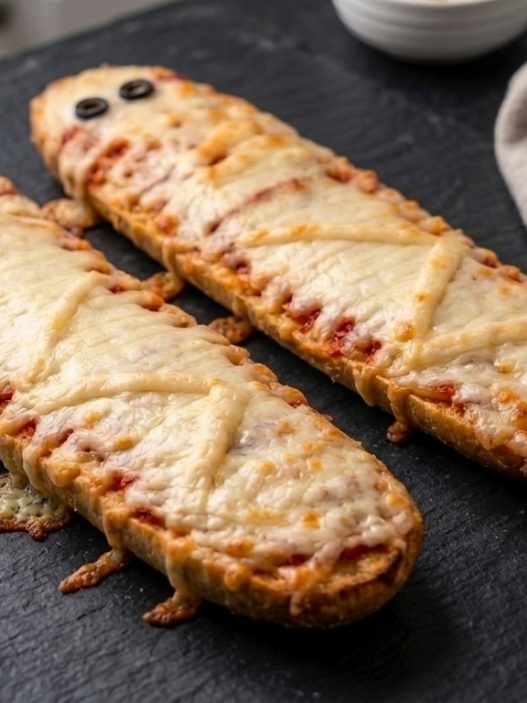
Instead of covering the pizza completely with shredded cheese, you’ll create thin strips of mozzarella that crisscross over the sauce.
It doesn’t have to look perfect. In fact, the messier it looks, the more mummy-like it becomes.
What You’ll Need for the Mummy Toppings
- 8 mozzarella string cheese sticks, peeled or sliced into thin strips
- 16 sliced black olives, perfect for spooky little eyes
- 1/2 cup shredded mozzarella, adds extra cheesy goodness underneath the strips
- 1 tbsp grated Parmesan, optional but adds a nice salty finish
How to Make Halloween Mummy Mini Pizza Recipe
Prepare the Base
Preheat your oven to 375 degrees F and line a large baking sheet with parchment paper.
If you’re using refrigerated biscuit dough, separate the biscuits and place them on the baking sheet. Gently press each one into a circle about 4 inches wide using your hands or the bottom of a glass.
Or, if you prefer refrigerated pizza dough, roll it out on a lightly floured surface and cut it into 8 circles of a similar size. Transfer them to the prepared baking sheet, leaving a little space between each one.
Add the Sauce
Brush the edges lightly with olive oil, then spread a thin layer of pizza sauce over each round.
Leave a small border around the outside so the crust can puff up and turn beautifully golden while baking.
Build the Mummies
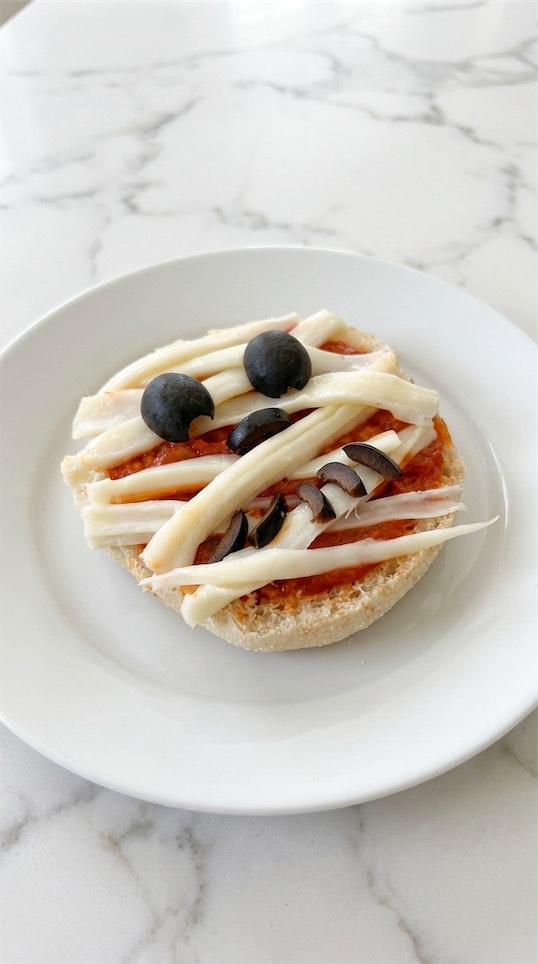
Sprinkle a little shredded mozzarella onto each pizza first. Then arrange thin strips of string cheese across the top in different directions to create the classic mummy wrapping look.
Leave a small gap near the top for the eyes, then press two olive slices into each pizza for the eyes and add some more halved olives for the smile (optional).
Bake Until Golden
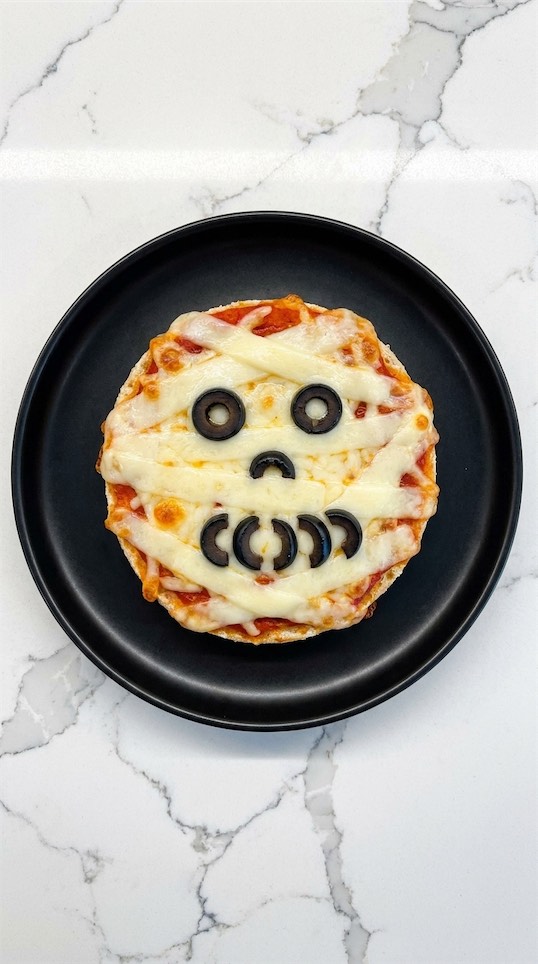
Slide the tray into the oven and bake for about 10 to 14 minutes, depending on the thickness of your dough.
The crust should be lightly golden and the cheese melted with little bubbly spots across the top.
Let the pizzas cool for a couple of minutes before serving. The cheese will settle slightly, making them much easier to pick up.
Easy Ways to Customize These Mummy Pizzas
One of the best things about these pizzas is how flexible they are.
You can stick with the classic version or mix things up depending on who’s coming to dinner or what’s already sitting in your fridge. Not gonna lie, they’re pretty hard to mess up.
Try a few of these ideas:
- Pepperoni tucked under the cheese strips
- Cooked sausage crumbles for extra flavor
- Mini pepper pieces for colorful decorations
- Jalapeño slices if you like a little heat
- Pesto instead of tomato sauce
- Whole wheat pizza dough for a heartier base
- Dairy free cheese for an allergy friendly version
Storing, Reheating, or Meal Prep
These mini pizzas keep well in an airtight container in the refrigerator for up to 3 days.
If you’re planning a Halloween party, you can even assemble them a few hours ahead of time and refrigerate until you’re ready to bake.
For reheating, warm them in a 350 degree F oven or an air fryer for about 4 to 6 minutes.
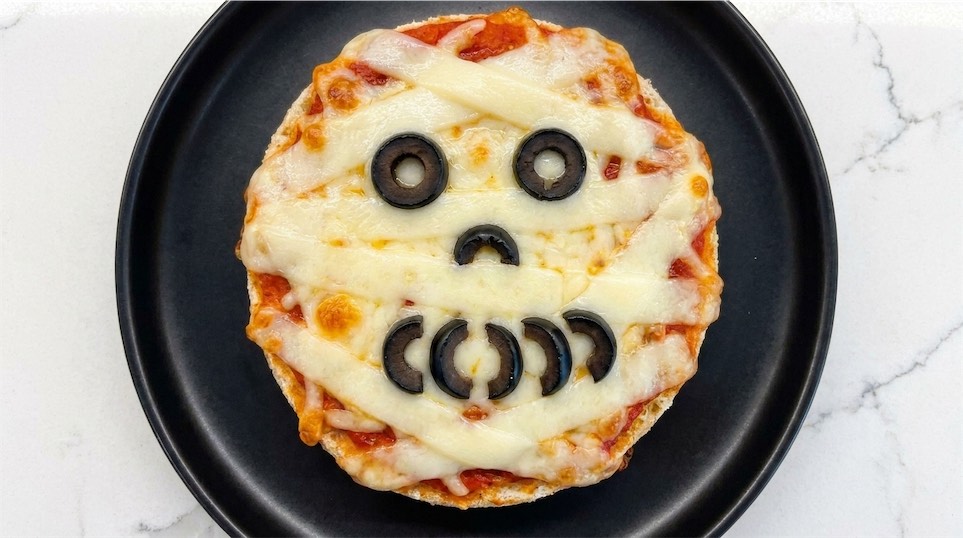

Halloween Mummy Mini Pizza Recipe
Description
These Halloween Mummy Mini Pizzas are a fun and easy appetizer or snack made with refrigerated biscuit dough, pizza sauce, mozzarella cheese, and black olives. Perfect for Halloween parties, family movie nights, or letting kids help decorate their own spooky pizzas.
Ingredients
Pizza Base
Toppings
Instructions
Instructions
Prepare the Dough
-
Preheat the oven to 375°F and line a large baking sheet with parchment paper. If using refrigerated biscuits, separate them and gently flatten each one into a 4 inch circle using your hands or the bottom of a glass. If using refrigerated pizza dough, roll it out on a lightly floured surface and cut it into 8 equal circles before placing them on the baking sheet.
Add the Sauce
-
Brush the edges of each dough round with olive oil and sprinkle lightly with the Italian seasoning. Spread about 2 tablespoons of pizza sauce over each round, leaving a small border around the edge so the crust can become golden and tender during baking.
Layer the Cheese
-
Sprinkle a small amount of shredded mozzarella over each pizza to create a cheesy base. Pull the string cheese into thin strips, or slice it into narrow ribbons, then arrange the strips across the pizzas in different directions to resemble mummy bandages. Leave a small space near the top for the eyes.
Add the Eyes
-
Place 2 sliced black olives into the opening on each pizza to create the mummy’s eyes. Finish by sprinkling the Parmesan evenly over the tops. The cheese may look slightly uneven at this stage, which helps create a fun mummy effect once baked.
Bake the Pizzas
-
Bake for 13 to 15 minutes, or until the biscuit dough is cooked through and lightly golden, or the pizza dough is crisp around the edges. The cheese should be fully melted, bubbly, and just beginning to brown.
Cool and Serve
-
Remove the baking sheet from the oven and allow the pizzas to cool for 2 to 3 minutes before serving. This short resting time helps the melted cheese set slightly, making the pizzas easier to pick up and enjoy.
Note
Refrigerated biscuit dough creates a soft, fluffy crust, while refrigerated pizza dough produces a crispier, more traditional pizza base.
Pulling the string cheese into strands instead of slicing it creates a more natural mummy wrapping effect.
Store leftover pizzas in an airtight container in the refrigerator for up to 3 days.
Reheat in a 350°F oven or air fryer for 4 to 6 minutes until warmed through and the cheese is melted.
If the biscuit dough springs back while flattening, let it rest for 2 minutes before gently pressing it again. This makes it easier to shape without tearing.