






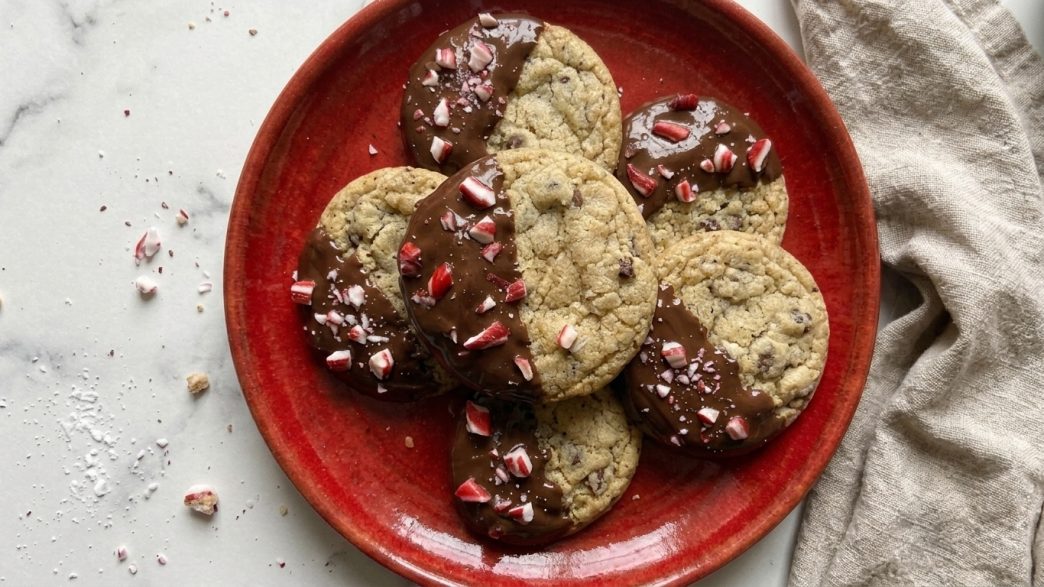
Peppermint Chocolate Chip Cookies are soft-centered cookies with crisp edges, plenty of dark chocolate chips, and a dark chocolate dip finished with crushed candy canes. They’re a great make-ahead holiday bake because the dough chills before baking, the recipe makes 16 cookies, and the finished cookies keep well for gifting or cookie trays.
What Makes This Peppermint Chocolate Chip Cookies Recipe Great?

This version keeps the peppermint flavor clear but not overpowering, with just enough extract to let the chocolate stay front and center. The dough starts with melted butter for an easy mix, then gets chilled so the cookies bake up thick with soft middles and lightly crisp edges. The final dip in dark chocolate and peppermint candy canes gives them that bakery-style finish without making the process fussy.
Why You’ll Love It
- Great for holiday baking, the dipped chocolate finish and candy cane topping make them look extra special without complicated decorating.
- Easy to make ahead, the dough needs a chill anyway, and the baked cookies store well for several days.
- Beginner-friendly, there’s no mixer required, just a bowl, whisk, and spatula or wooden spoon.
- Perfect for gifting, the cookies hold their shape well and the chocolate coating sets firmly after chilling.
- Helpful for batch baking, 16 evenly portioned cookies make it easy to fill a tray or split between sharing and keeping a few at home.
The Cookie Dough
The base of these cookies is simple, but it does a lot. Melted butter gives you a rich, chewy texture and makes the dough easy to mix by hand, while the mix of brown sugar and granulated sugar helps create that sweet spot between soft centers and lightly crisp edges.
The peppermint extract goes into the dough itself, so every bite has that cool minty note, but it stays balanced instead of tasting like toothpaste. Trust me, that matters. Dark chocolate chips bring enough richness to keep the whole cookie feeling grounded and not overly sweet.
What You’ll Need for The Cookie Dough
- 1/2 cup salted butter, melted and cooled slightly so it blends smoothly without scrambling the egg.
- 2/3 cup light brown sugar, packed, for moisture, chew, and a deeper caramel-like sweetness.
- 1/2 cup granulated sugar, for sweetness and those lightly crisp edges.
- 1 large egg, to bind the dough and help create a soft, tender center.
- 1 3/4 cups all purpose flour, the main structure of the cookies.
- 1/2 teaspoon baking powder, to give the cookies a little lift while keeping them thick.
- 1/4 teaspoon peppermint extract, enough to flavor the dough without overwhelming the chocolate.
- 3/4 cup dark chocolate chips, for pockets of melty chocolate throughout each cookie.
The Chocolate Dip
This is the part that makes these cookies feel a little extra, in the best way. Dipping half of each cooled cookie in melted dark chocolate adds another layer of rich flavor and gives a nice snap once the chocolate sets.
Then come the crushed candy canes. They add crunch, a brighter peppermint finish, and that classic holiday look. It’s simple, but honestly, it’s the best part.
What You’ll Need for The Chocolate Dip
- 3/4 cup dark chocolate, roughly chopped, so it melts evenly into a smooth dipping chocolate.
- 3 peppermint candy canes, finely crushed, for a crisp topping and extra peppermint flavor.
How to Make Peppermint Chocolate Chip Cookies
Mix the wet ingredients
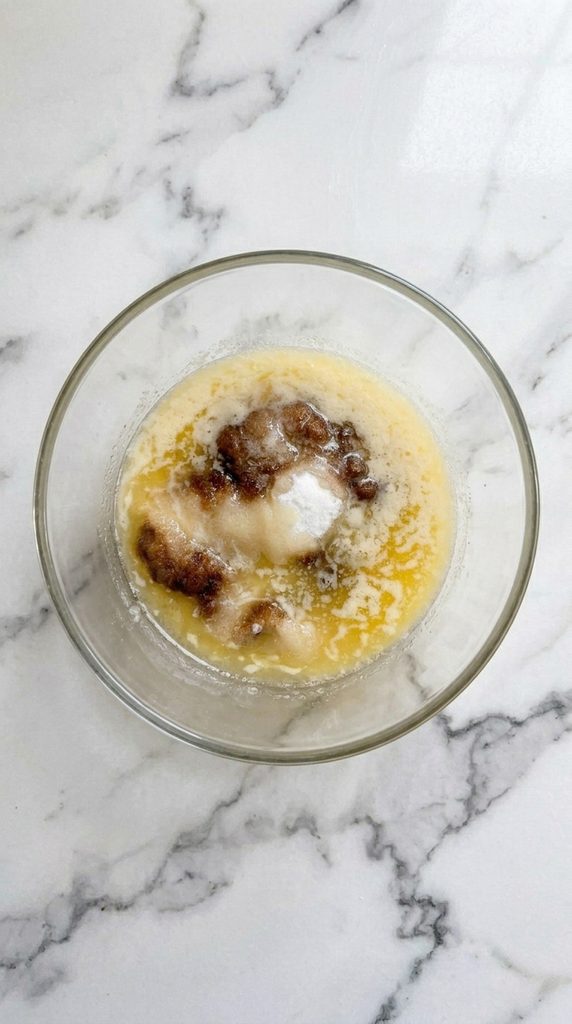
Place the melted butter, light brown sugar, and granulated sugar in a large mixing bowl. Whisk until the mixture looks smooth and glossy, then whisk in the egg until fully combined. It should look thick and slightly shiny, which is exactly what you want before adding the dry ingredients.
Make the dough
Add the all purpose flour and baking powder to the bowl, then mix with a wooden spoon or spatula just until no dry streaks remain. Stir in the peppermint extract, then fold in the dark chocolate chips. The dough will be soft, but it should still hold together well.
Chill the dough
Cover the bowl, or wrap the dough well, and refrigerate it for 60 minutes. This step helps the cookies bake up thicker and keeps them from spreading too much in the oven. If the dough still feels too soft to roll after chilling, give it another 10 to 15 minutes in the fridge.
Shape the cookies
Heat the oven to 350°F and line 2 baking sheets with parchment paper. Divide the chilled dough into 16 equal pieces and roll each one into a ball. Set them on the baking sheets with space between each cookie, then gently press the tops so they’re slightly flattened.
Bake until set
Bake for 10 minutes, then take the trays out and tap them firmly on the counter once or twice. This helps the cookies spread and creates those lovely little ripples on top. Return them to the oven for 2 minutes, tap the trays again, then bake for 2 minutes more, for a total of 14 minutes. The edges should look lightly golden while the centers stay soft. Let the cookies cool completely on the baking sheets so they firm up without breaking.
Melt the chocolate
Place the chopped dark chocolate in a heatproof bowl. Melt it gently over a pan of barely simmering water, or microwave it in 15 second bursts, stirring after each one, until smooth and glossy. Line a tray or plate with parchment paper so the dipped cookies have somewhere to set.
Dip and set the cookies

Once the cookies are completely cool, dip half of each one into the melted chocolate and place it on the lined tray. Sprinkle the crushed peppermint candy canes over the chocolate while it’s still wet so they stick well. Chill the cookies for about 30 minutes, or until the chocolate is firm and set.
Variations and Customizations
The main recipe is pretty streamlined, so it’s best to keep the cookie base as written for the same texture and shape. That said, there are a few easy ways to tweak how you serve or finish them, especially if you’re baking for a holiday tray and want some variety.
- For a slightly subtler finish, use a lighter sprinkle of crushed candy canes over the chocolate dip.
- If you want neater bakery-style cookies, gently nudge the edges into shape with a spoon while they’re still warm if any spread unevenly.
- For smaller holiday tray portions, you can serve the cookies as halves after the chocolate has fully set.
- If you prefer a softer bite from chilled cookies, let them sit at room temperature for about 15 minutes before serving.
Toppings, Add-Ons, and Finishing Touches
These cookies already have a built-in finishing touch with the dark chocolate dip and crushed candy canes, so they really don’t need much else. The chocolate adds richness, while the peppermint topping gives crunch and that cool, festive contrast that makes the whole cookie pop.
- Extra crushed peppermint candy cane for a more generous peppermint crunch on top.
- A slightly heavier chocolate dip if you want a bolder dark chocolate finish.
Storing, Reheating, and Meal Prep
Store the finished cookies in an airtight container at room temperature for up to 4 days. For longer storage, keep them in the refrigerator for up to 1 week. They do not need reheating, but if you like a softer texture, let chilled cookies sit at room temperature for about 15 minutes before eating.
For make-ahead baking, prepare the cookies completely and let the chocolate set before storing. The baked cookies can also be frozen in a sealed container for up to 2 months. Thaw them at room temperature before serving so the texture stays nice and the chocolate coating doesn’t get messy.
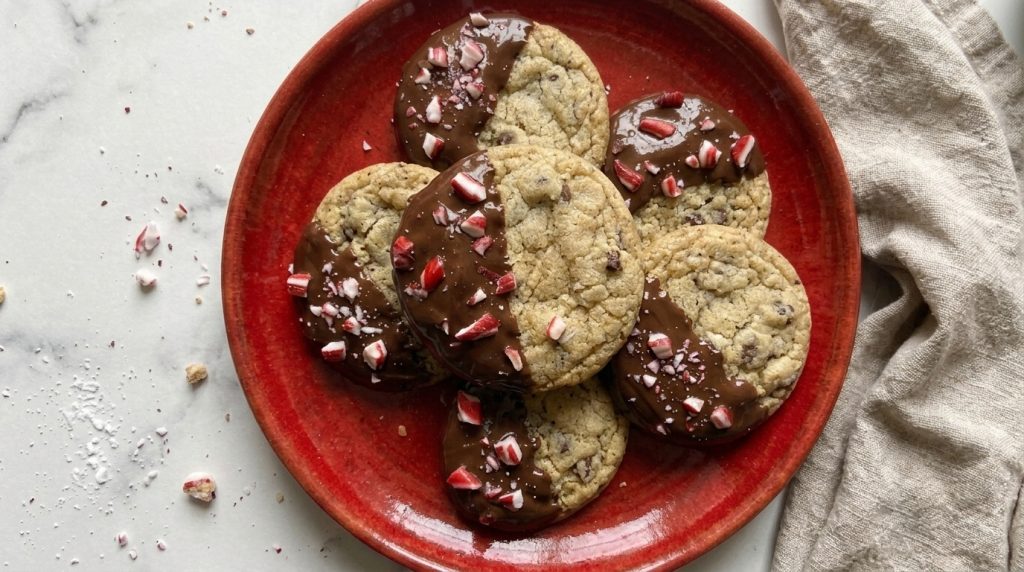

Peppermint Chocolate Chip Cookies
Description
Soft centered peppermint chocolate chip cookies with crisp edges, dipped in dark chocolate and finished with crushed candy canes.
Ingredients
For the Cookies
For the Chocolate Dip
Instructions
Mix the wet ingredients
-
Place the melted butter, light brown sugar and granulated sugar in a large mixing bowl. Whisk until smooth and glossy, then whisk in the egg until fully combined. The mixture should look thick and slightly shiny.
Make the dough
-
Add the all purpose flour and baking powder to the bowl. Use a wooden spoon or spatula to mix just until no dry streaks remain. Stir in the peppermint extract, then fold in the dark chocolate chips. The dough will be soft, but it should hold together well.
Chill the dough
-
Cover the bowl or wrap the dough well and chill it in the refrigerator for 60 minutes. This helps the cookies bake up thicker and keeps them from spreading too much.
Shape the cookies
-
Heat the oven to 350 F. Line 2 baking sheets with parchment paper. Divide the chilled dough into 16 equal pieces and roll each one into a ball. Place them on the baking sheets with space between each cookie, then press the tops down lightly so they are slightly flattened.
Bake until set
-
Bake for 10 minutes, then remove the trays and tap them firmly on the counter once or twice to help the cookies spread and wrinkle slightly. Return them to the oven for 2 minutes, tap the trays again, then bake for 2 minutes more. The cookies should have lightly golden edges and soft centers. Let them cool completely on the baking sheets so they firm up without breaking.
Melt the chocolate
-
Put the chopped dark chocolate in a heatproof bowl. Melt it gently over a pan of barely simmering water, or microwave in short 15 second bursts, stirring each time, until smooth and glossy. Line a tray or plate with parchment paper.
Dip and set the cookies
-
Dip half of each cooled cookie into the melted chocolate and place it on the lined tray. Sprinkle the crushed peppermint candy canes over the chocolate while it is still wet. Chill the cookies for about 30 minutes, or until the chocolate is firm and set.
Note
If the dough feels too soft to roll after chilling, refrigerate it for 10 to 15 minutes longer. If the cookies spread unevenly, gently nudge the edges into shape with a spoon while they are still warm. Store the finished cookies in an airtight container at room temperature for up to 4 days. For longer storage, refrigerate them for up to 1 week. The baked cookies can be frozen in a sealed container for up to 2 months. Thaw at room temperature before serving. These cookies do not need reheating, but if you prefer a softer texture, let chilled cookies sit at room temperature for 15 minutes before eating.