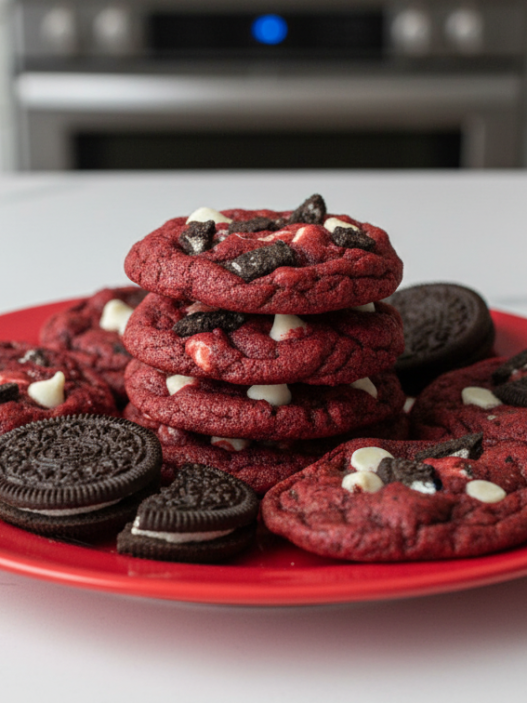


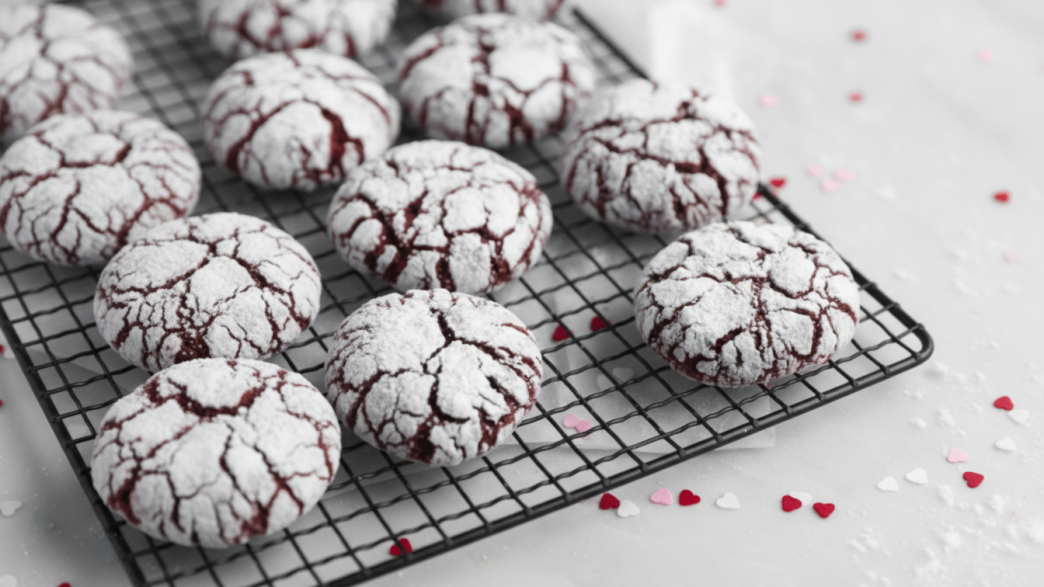
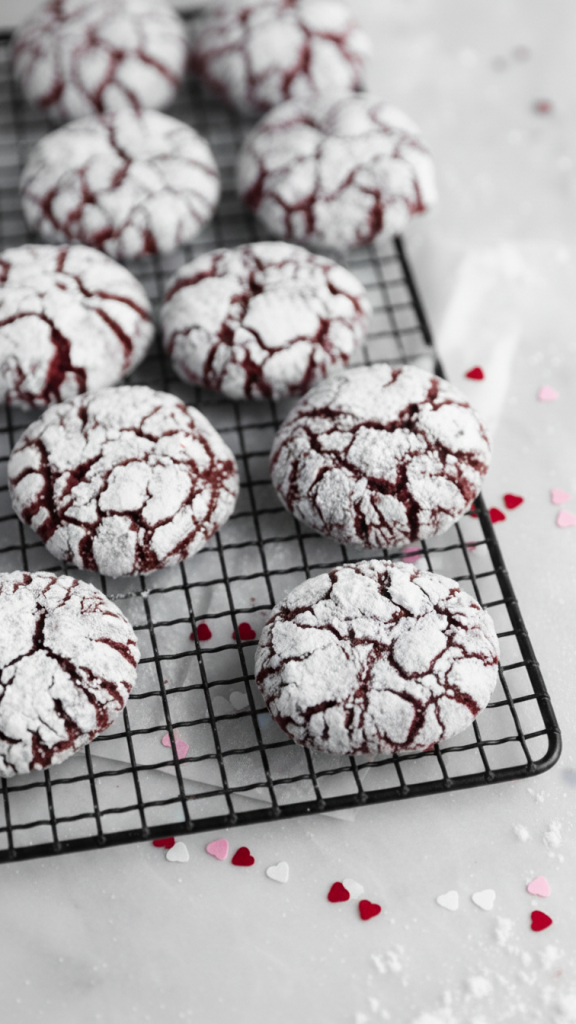
These red velvet crinkle cookies are soft, slightly fudgy, and coated in that snowy powdered sugar that cracks just right in the oven. They’re like little red velvet pillows with a sweet crunch on top. Honestly, I’ve made them three times this year and my family just love them! Because of their bright red color they are a great option for Valentine’s Day, Galentines, Christmas but honestly you can make these at any time of the year and they will go down a treat!
So, here’s how to bake them…
Why You’ll Love These Red Velvet Crinkle Cookies
- They’re soft in the middle, a little chewy, and have that crackly powdered sugar top.
- You don’t have to chill the dough. Seriously, just mix and bake.
- They look way fancier than the effort it takes to make them.
- Your kitchen will smell like chocolate and vanilla heaven.
- Perfect for Valentine’s Day, Christmas, or just a random Tuesday sugar craving.
Ingredients Needed For Red Velvet Crinkle Cookies
Butter – Half a cup, softened. If you forgot to take it out early (same), give it a few quick seconds in the microwave, just not melted.
Brown sugar – Adds that cozy caramel flavor and keeps the centers soft.
Granulated sugar – For sweetness and a little structure.
Eggs – Two, at room temp if you can manage it.
Vanilla extract – A little splash of comfort.
Red food coloring – Go for gel if you have it, you’ll need less.
All-purpose flour – The base of it all.
Cocoa powder – Just enough to make it taste like real red velvet, not just “red cookies.”
Baking powder – For that signature puff.
Salt – Always needed to balance the sweetness.
Coating:
- Granulated sugar (for the first roll)
- Powdered sugar (for the snowy finish)

How To Make Red Velvet Crinkle Cookies
Preheat Your Oven
Preheat your oven to 350°F (175°C) and line a baking sheet with parchment paper.
Create Your Mixture
Start by beating the butter, brown sugar, and white sugar together until it looks creamy and light, like you could spread it on toast if no one was watching.
Add the eggs one at a time, mixing until smooth. Pour in the vanilla and red food coloring.
The color will deepen as it bakes, so don’t panic if it looks a bit bright.

Add Dry Ingredients
In another bowl, whisk together the flour, cocoa powder, baking powder, and salt.
Slowly add that into your wet mixture. It should turn into a soft, slightly sticky dough that smells faintly of chocolate cake.
Mix With Sugar
Now grab two small bowls, one for regular sugar and one for powdered sugar.
Scoop out spoonfuls of dough (about a tablespoon each), roll them into little balls, coat in the granulated sugar first, then roll generously in powdered sugar.
This double coating helps the “crinkle” effect show up more clearly when baked.
Arrange Dough Balls On Baking Sheet
Arrange the dough balls on your baking sheet with some space between them.
Pop them in the oven for about 10–11 minutes, just until the tops have cracked and the centers still look soft.
Don’t overbake – trust me, that’s when the magic gooey texture disappears.
Cool Them
Let them cool a few minutes before moving them. Or don’t, and enjoy one warm. I always do.
Tips & FAQs
Can I use natural food coloring?
Yes, though the color won’t be as bold. You can also skip it altogether—still tastes delicious, just more “chocolate crinkle” than “red velvet.”
How long do they stay soft?
Around 3–4 days in an airtight container. I sometimes pop them in the microwave for 5 seconds to revive that fresh-baked texture.
Can I freeze the dough?
Absolutely. Roll the dough balls (before coating), freeze them, then coat in sugar right before baking. Add an extra minute or so to the bake time.
Why two sugars for the coating?
The granulated layer helps the powdered sugar stick and stay visible during baking instead of melting in. It’s a small step, but it makes them look bakery-level cute.
Can I skip the cocoa powder?
Technically yes, but then they lose that red velvet flavor and become more like “red sugar cookies.” Still good, but not quite the same.