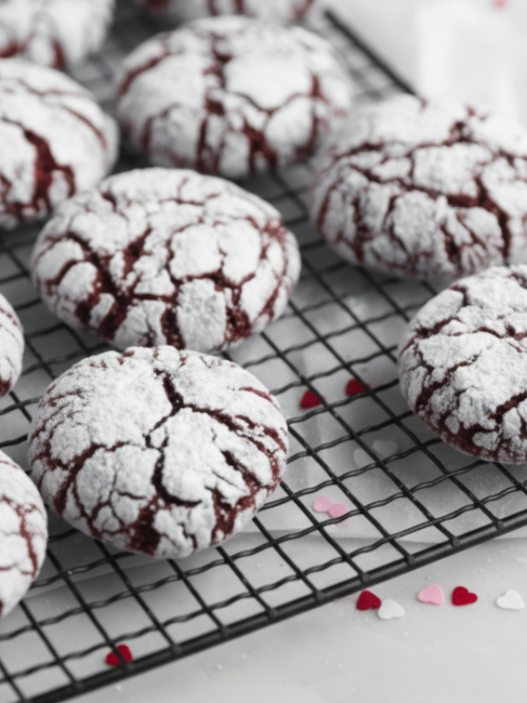


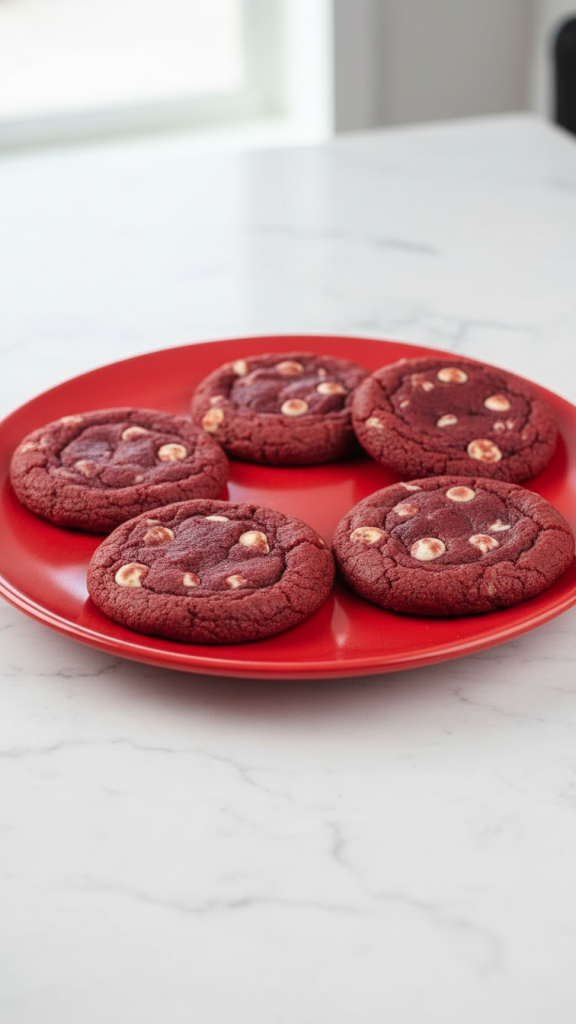
I made these Red Velvet Cookies last year for Valentine’s Day for my husband and he loved them! These cookies are a little bit of chocolatey heaven, a pop of red that feels festive, and that smell, oh my gosh, the smell.
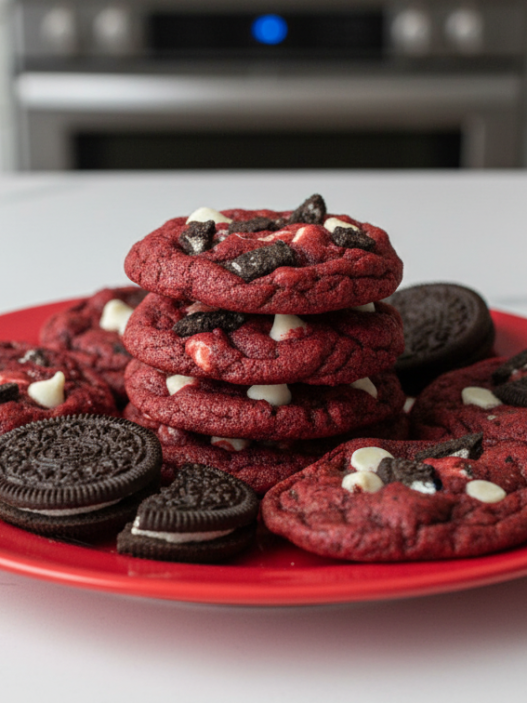
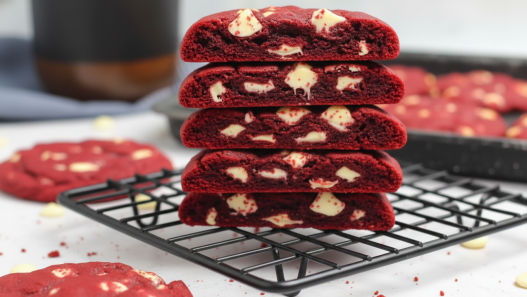
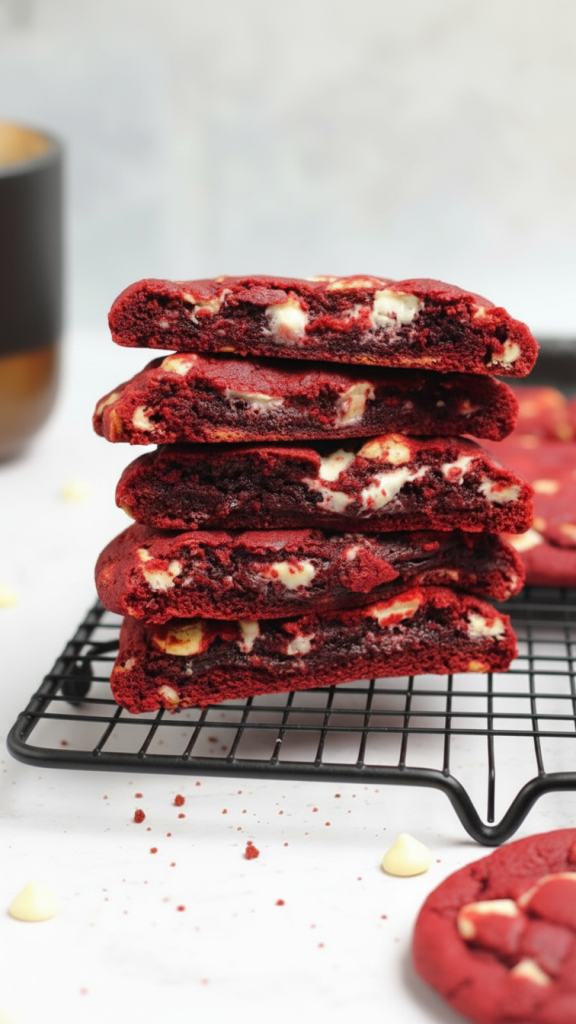
They’re soft in the middle, slightly crisp around the edges, and filled with melty bits of white chocolate that make them taste like something between a brownie and a bakery cookie. I honestly didn’t expect them to turn out this good on the first try.
So here’s the recipe!
Why You’ll Love These Red Velvet Cookies
- They’re soft in the middle and just slightly crisp around the edges.
- No chilling overnight, you can bake them right after mixing.
- That red velvet flavor with white chocolate chunks is ridiculously good.
- They make your whole kitchen smell like vanilla and cocoa.
- Perfect for Valentine’s Day, Christmas, or honestly any random Tuesday.
Ingredients For These Red Velvet Cookies
Butter – Softened. If you forget (like I always do), microwave it for a few seconds until just soft, not melted.
Brown sugar – For chewiness and depth. You’ll notice the flavor difference.
White sugar – Gives those crisp edges.
Egg – Just one, medium or large.
Vanilla extract – Adds warmth and balances the cocoa.
Red food coloring – Use gel if you can; it keeps the dough bright.
All-purpose flour – Your classic base for chewy cookies.
Cocoa powder – Just enough for that subtle chocolate note.
Baking powder + baking soda – Keeps them soft and slightly puffy.
Salt – Don’t skip it; it makes the sweetness pop.
White chocolate chips or chunks – I used chopped bar pieces; they melt a little dreamier.
How To Make It
Make Your Dough
Start by creaming the butter with both sugars until it looks pale and fluffy, I just use my hand mixer because I can’t be bothered with the stand mixer for cookies.
Add the egg, vanilla, and red coloring and mix again until it’s all combined.
The dough should be a pretty deep red by now (and yes, it will look a bit like frosting).

Whisk In Flour & Cocoa Powder
In another bowl, whisk together the flour, cocoa powder, baking powder, baking soda, and salt.
Slowly mix those dry ingredients into your wet ones until you’ve got a thick dough.
It’ll feel soft but not sticky.
If it clings too much to your hands, sprinkle in a spoon of flour.
Fold In Chocolate Chips

Fold in the white chocolate chips until they’re scattered evenly.
Scoop the dough into balls about the size of a golf ball, or a bit smaller if you like them petite.
Chill the dough balls in the fridge for about 30 minutes, it helps them bake thicker and chewier.
Preheat Oven
Preheat your oven to 180°C (fan) or about 350°F.
Bake The Cookies
Line a tray with parchment paper and space the dough balls out nicely. They’ll spread a bit, so don’t crowd them.
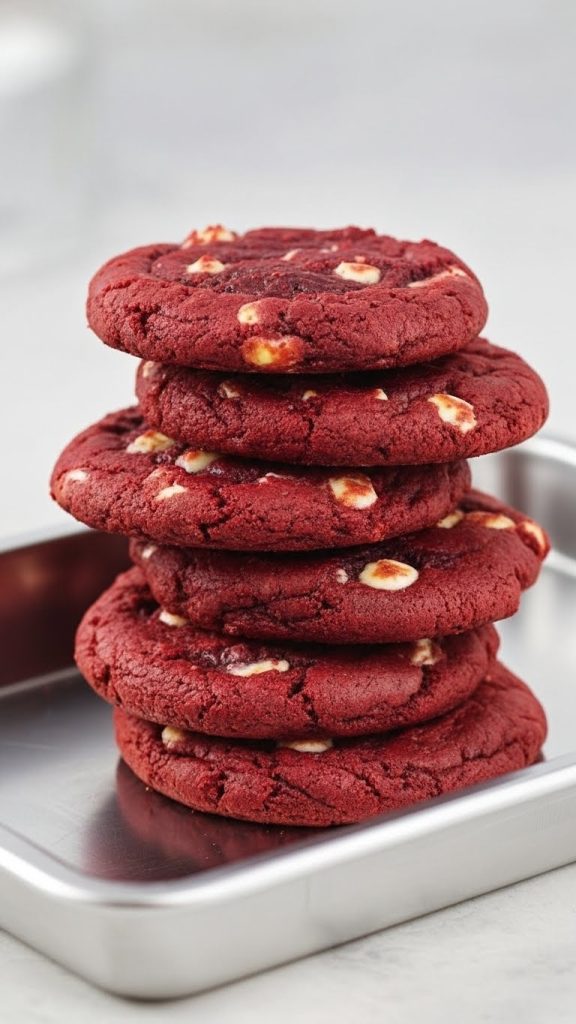
Bake for around 11–13 minutes until the edges look set but the centers still look soft.
Let Your Red Velvet Cookies Cool & Resist Tempation
Here’s the tricky part: leave them on the tray to cool.
I know, it’s tempting, but they keep baking a bit while cooling, and that’s how you get that gooey middle with a firm edge. Trust me on this one!
Tips & FAQs
Can I skip the red food coloring?
You can, but then they’re just cocoa cookies. Still delicious though, just not red velvet.
Can I freeze the dough?
Yep! Freeze the dough balls on a tray, then pop them into a bag once firm. Bake from frozen, just add a couple minutes to the time.
Do I have to chill the dough?
Technically no, but they’ll spread more and be thinner. If you like chewy cookies, chill them even just 20 minutes.
How long do they stay soft?
About 3–4 days in an airtight tin. Though honestly, they never last that long here.
Can I use dark chocolate instead of white?
You can. It’ll be less sweet, more brownie-like. I’ve done both and, yeah… white still wins.