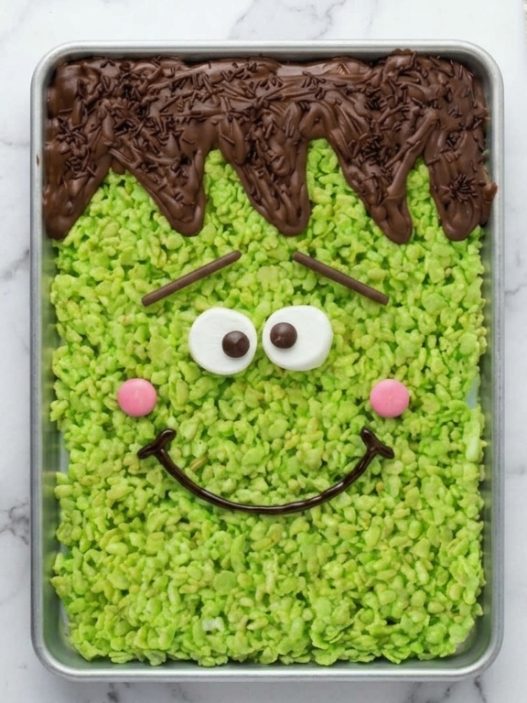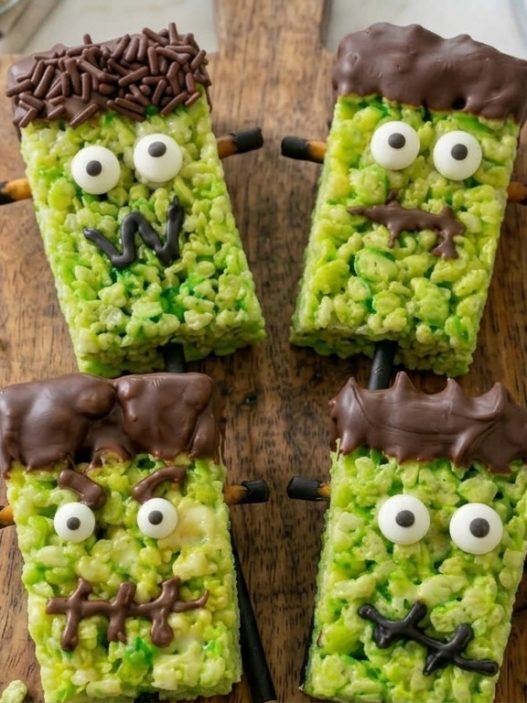

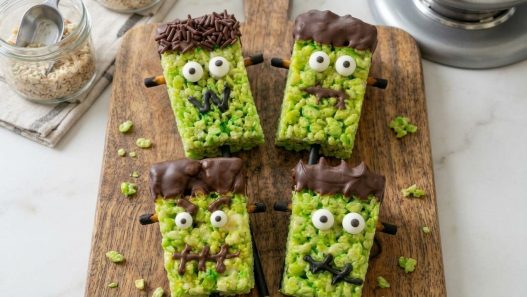

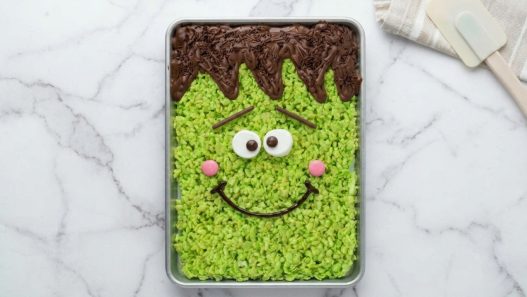

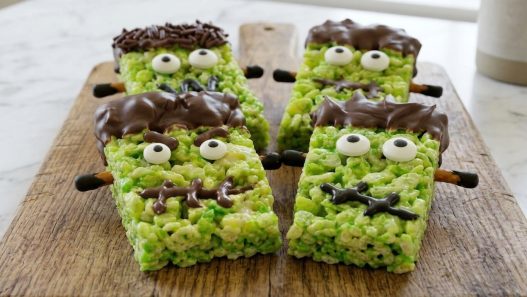


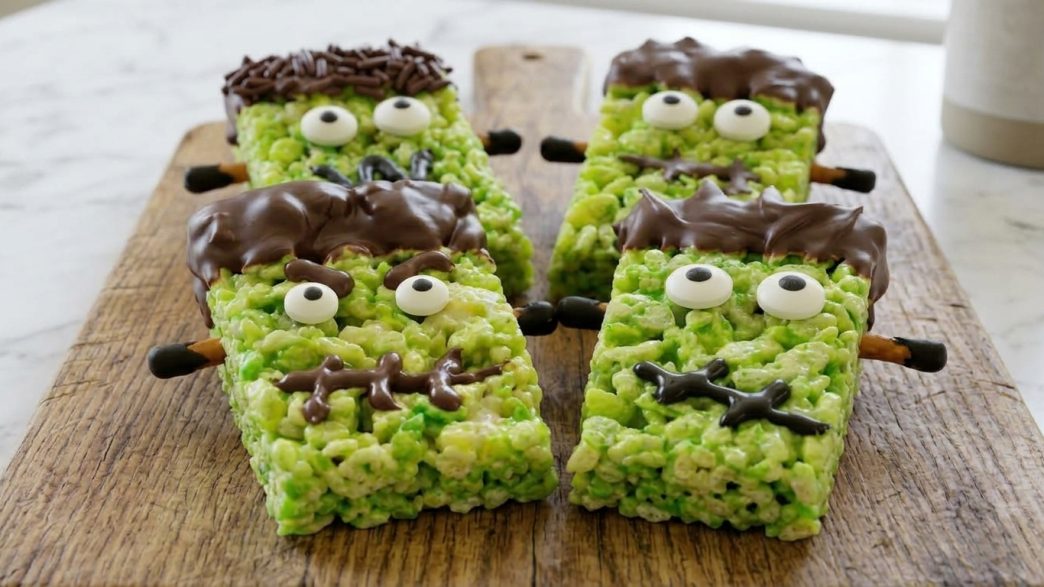
These Frankenstein Rice Krispie Treats are soft, chewy green marshmallow bars dipped in chocolate “hair,” finished with candy eyes, a stitched icing mouth and little pretzel neck bolts. They need no oven, take about 30 minutes of hands-on time, and are easy enough for kids to help decorate, which makes them a handy Halloween party or class treat.
What Makes These Frankenstein Rice Krispie Treats Great?
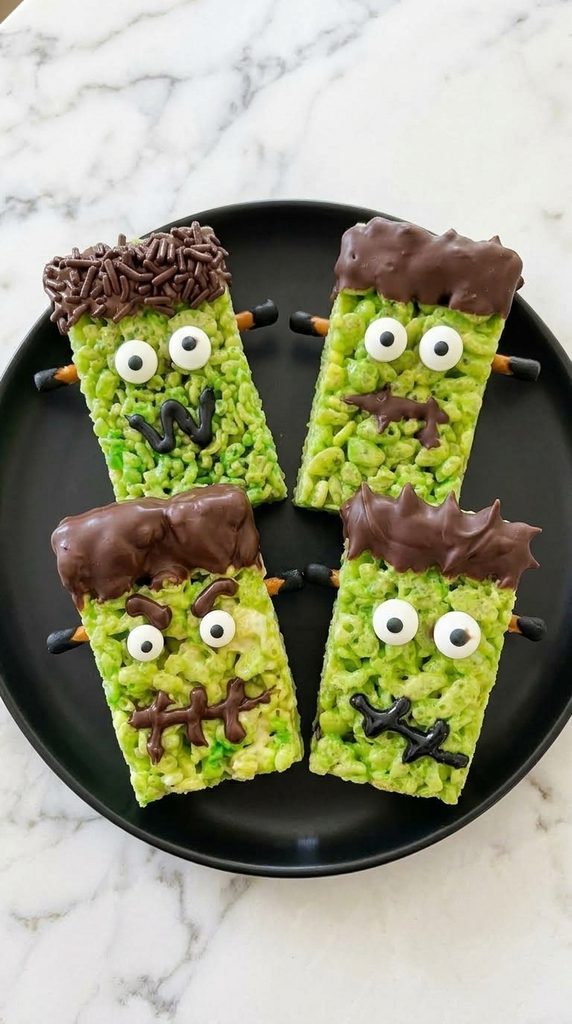
The base stays soft because the marshmallows melt low and slow, and an extra handful of whole marshmallows gets folded in at the end for gooey pockets. A thin layer of semisweet chocolate gives each bar its flat-top hairline and a nice contrast to all that sweetness. The pretzel bolts add a salty little crunch, so they’re not just decoration.
Why You’ll Love It
- No oven needed, everything happens on the stovetop and in the microwave, so it’s a safe project for younger helpers.
- Easy to make ahead, the green bars can be made the day before and decorated when you’re ready.
- Great for a crowd, one 9×13-inch pan gives you 12 generous monsters for parties or school events.
- Kids can decorate their own, set out the eyes and icing and let everyone give their Frankenstein a different face.
- Simple pantry ingredients, cereal, marshmallows, butter and chocolate chips are easy to find, especially in October.
The Green Marshmallow Treats
This is the body of your monster, and honestly, it’s where most Rice Krispie treats go wrong. Too much heat and the marshmallows turn stiff and the bars get hard. Too much pressing and they turn into dense bricks. Keep the heat low and your hands gentle, and the texture stays soft and chewy for days.
The small pinch of salt and splash of vanilla make them taste homemade rather than flat and sugary. Gel food coloring is the better pick here because it gives a strong green with only a little added, so the mixture doesn’t get watery.
What You’ll Need for the Green Marshmallow Treats
- 5 tablespoons unsalted butter, plus a little extra for greasing, gives rich flavor and keeps the bars tender.
- 12 oz mini marshmallows (about 6 1/2 cups), divided, mini ones melt faster and more evenly than large ones.
- 1/4 teaspoon fine salt, balances the sweetness so the treats don’t taste one-note.
- 1 teaspoon vanilla extract, adds a warm, bakery-style flavor.
- 1/2 teaspoon green gel food coloring, adjust up or down depending on how bright you want your monsters.
- 7 cups crisp rice cereal, Rice Krispies or a store brand both work, just make sure it’s fresh and crunchy.
The Chocolate Hair
What’s Frankenstein without that famous flat hairline? A quick dip in melted chocolate gives each bar a dark, glossy top that sets firm enough to stack on a platter.
Semisweet chips are a good middle ground between sweet milk chocolate and bitter dark chocolate. A little coconut oil thins the chocolate so it coats smoothly and sets with a nice shine instead of looking thick and clumpy.
What You’ll Need for the Chocolate Hair
- 1 cup semisweet chocolate chips, melt smoothly and balance the sweet green base.
- 2 teaspoons coconut oil or vegetable shortening, thins the chocolate for easy dipping and a glossy finish.
The Face and Neck Bolts
This is the fun part. Candy eyes give each monster instant personality, and a zigzag line of black icing makes that classic stitched mouth.
Instead of candy for the bolts, thin pretzel sticks snapped in half do the job nicely. They push straight into the sides of the bars without any glue, and the salty crunch works so well with the chocolate and marshmallow.
What You’ll Need for the Face and Neck Bolts
- 24 candy eyes, 2 per bar, mixing sizes gives each monster a slightly different expression.
- 1/4 cup black decorating icing in a tube, attaches the eyes and draws the mouths and stitches.
- 12 thin pretzel sticks, snapped in half to make 24 short neck bolts.
How to Make Frankenstein Rice Krispie Treats
Prep the Pan
Grease a 9×13-inch baking dish with a little butter, or line it with parchment paper, leaving some overhang on the long sides so you can lift the whole slab out later.
Measure the cereal into a large bowl and set aside 1 cup of the mini marshmallows. Everything moves quickly once the marshmallows melt, so having it all ready saves a lot of stress.
Melt the Marshmallows
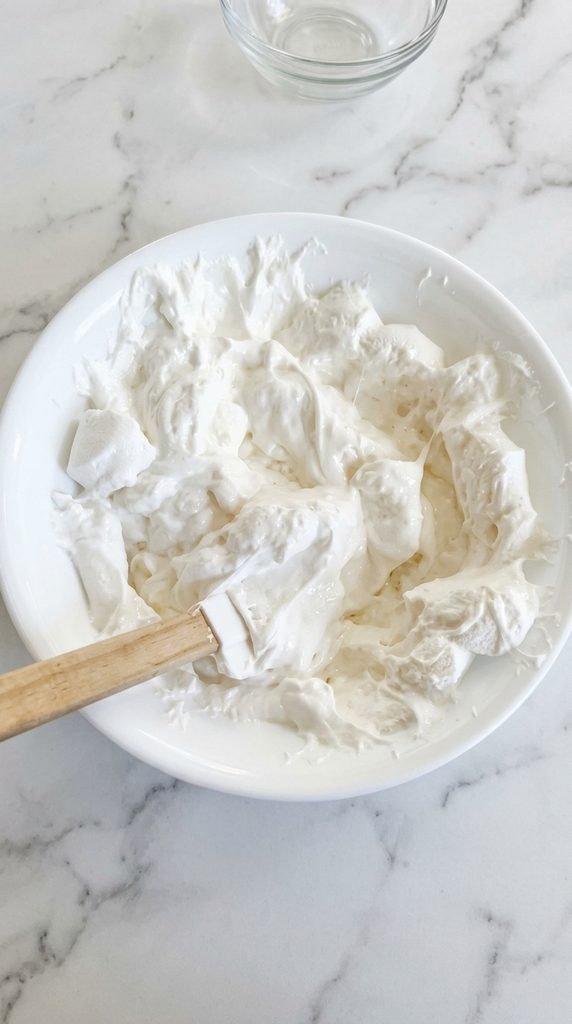
Melt the butter in a large pot over low heat. Add all the mini marshmallows except the reserved cup and stir constantly until completely melted and smooth, about 4 to 5 minutes. Keep the heat low the whole time. Rushing it on high heat is the main reason these treats end up hard.
Add the Color and Flavor
Take the pot off the heat and stir in the salt, vanilla and green gel coloring until the color is even with no streaks. It should look glossy and brightly green.
Add a tiny bit more coloring now if you want a deeper shade, because it’s hard to fix once the cereal is in.
Fold in the Cereal
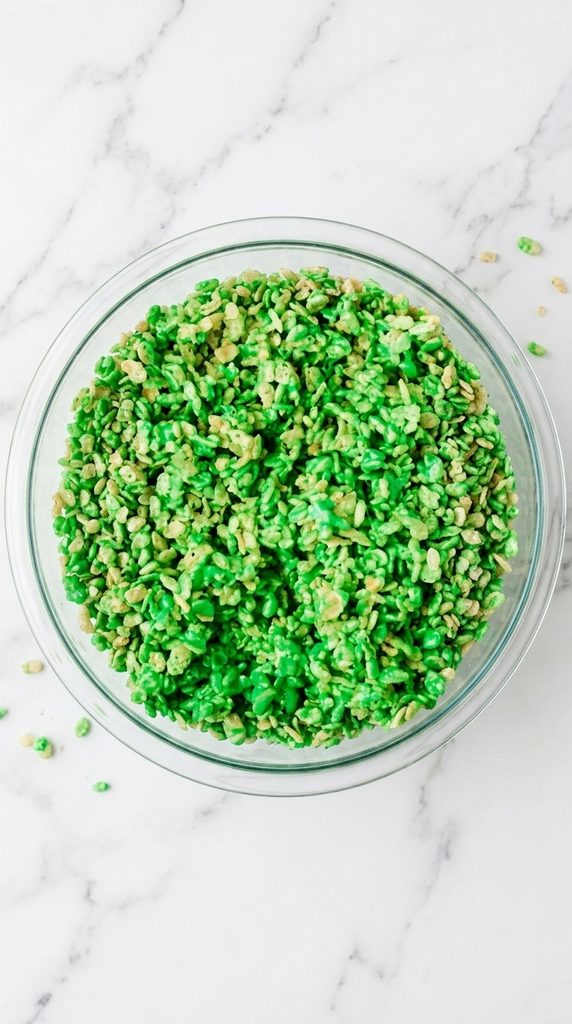
Add the cereal and the reserved cup of marshmallows to the pot, or pour the green mixture over the cereal in the bowl.
Fold gently with a greased spatula until every piece is coated. The reserved marshmallows will only half melt, and that’s exactly what you want, little soft pockets throughout.
Press and Set
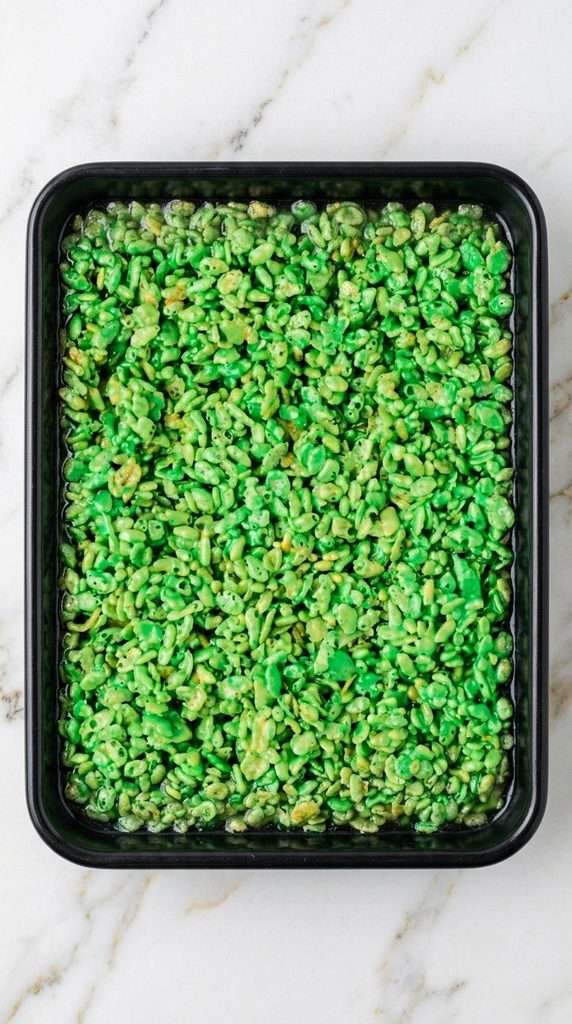
Tip the mixture into the prepared pan and press it into an even layer using a greased spatula or a piece of lightly greased parchment.
Press just firmly enough to fill the corners, don’t pack it down hard. Let it set at room temperature for 30 to 45 minutes, until firm enough to hold its shape when cut.
Cut the Bars
Lift the slab out of the pan and cut it into 12 rectangles, 3 rows by 4 rows, each about 3 by 3 1/4 inches.
A large knife wiped with a little butter between cuts gives clean edges. Line a tray with parchment for the decorated bars.
Melt the Chocolate
Put the chocolate chips and coconut oil in a small microwave-safe bowl.
Microwave in 30-second bursts, stirring well after each one, until melted and smooth, usually about 1 to 1 1/2 minutes total.
Stop heating when a few small lumps remain and just keep stirring, the leftover heat will melt them without scorching the chocolate.
Dip the Hair
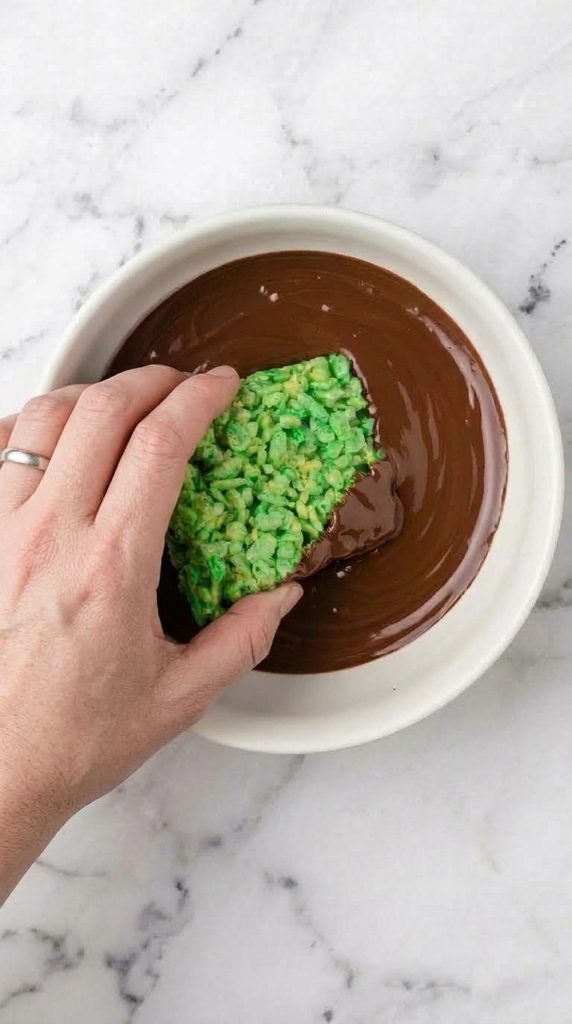
Hold each bar by its sides and dip the top 3/4 inch straight into the chocolate. Let the extra drip off for a few seconds, then place it upright on the parchment.
Chill the tray for about 10 minutes, or leave it at room temperature for 30 minutes, until the chocolate is firm.
Decorate the Faces
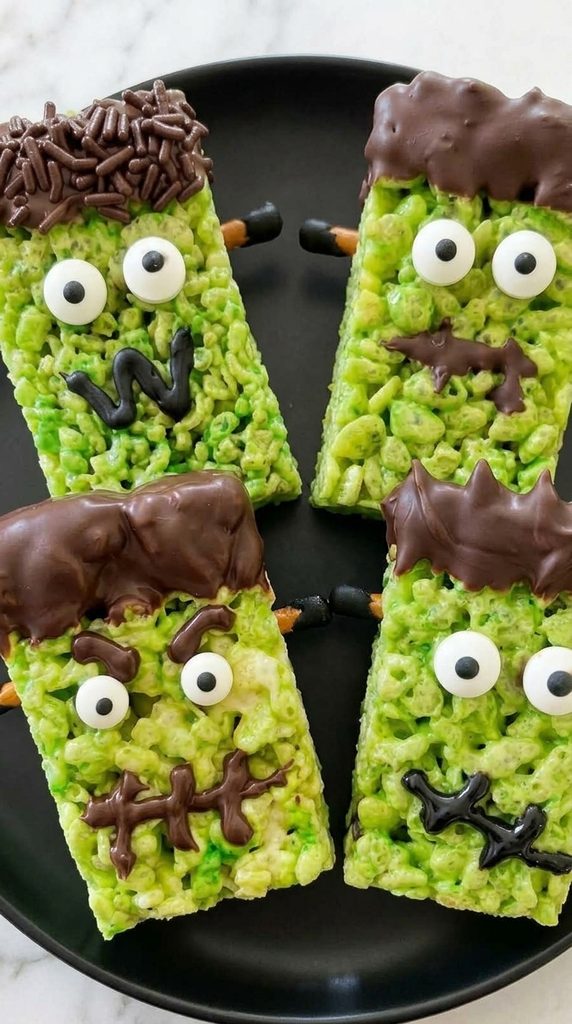
Squeeze 2 small dots of icing just below the chocolate line and press on the candy eyes.
Pipe a short zigzag or straight line with little crossing stitches for the mouth. Push one pretzel half into each side of the bar near the bottom for neck bolts.
Let the icing set for about 15 minutes before stacking or serving.
Variations and Customizations
Want to switch things up? These treats are easy to adapt to what’s already in your cupboard, or to make a whole monster family for a party table.
- Swap the cereal, use half crisp rice cereal and half Cheerios or cornflakes for a crunchier, bumpier texture.
- Try other chocolate, milk chocolate chips give a sweeter hairline, and dark chocolate chips give a richer, less sweet one.
- Make a monster mix, split the melted marshmallow into two batches and color one purple or orange for a mixed tray.
- Add brown butter, cook the butter until nutty and golden before adding marshmallows, though expect a slightly olive-green color.
- Make them dairy-free, use a plant-based butter and dairy-free chocolate chips, and check the marshmallows and cereal labels.
- Go bite-sized, cut into 24 smaller squares and use mini candy eyes for lunchboxes or party platters.
Toppings, Add-Ons, and Finishing Touches
The basic face is cute on its own, but a few extras can make your Frankensteins look a lot more dramatic. They also help if you’re decorating with kids who want to put their own spin on things.
- Chocolate sprinkles, press into the wet chocolate for messy, textured hair.
- Green sanding sugar, sprinkle over the bars before the chocolate sets for a sparkly finish.
- White icing, add a scar or tiny teeth along the mouth line.
- Mini chocolate chips, stick on with icing as nostrils or extra bolts.
- Pretzel rods, push one into the bottom of each bar to turn them into monster pops.
Storing, Reheating, and Meal Prep
Store decorated treats in a single layer, or with parchment between layers, in an airtight container at room temperature for up to 3 days. Skip the fridge for long-term storage, because the cold makes the marshmallow firm and chewy, and condensation can smudge the chocolate and make the eyes bleed. Freezing isn’t recommended for the decorated bars for the same reason.
To get ahead, make and cut the green bars up to 1 day before, keeping them tightly wrapped at room temperature. Dip and decorate them on the day, or the evening before, so the chocolate looks shiny and the pretzel bolts stay crisp. If the bars feel a little firm after a day or two, 5 to 8 seconds in the microwave softens them right back up (just remove any pretzel bolts first).
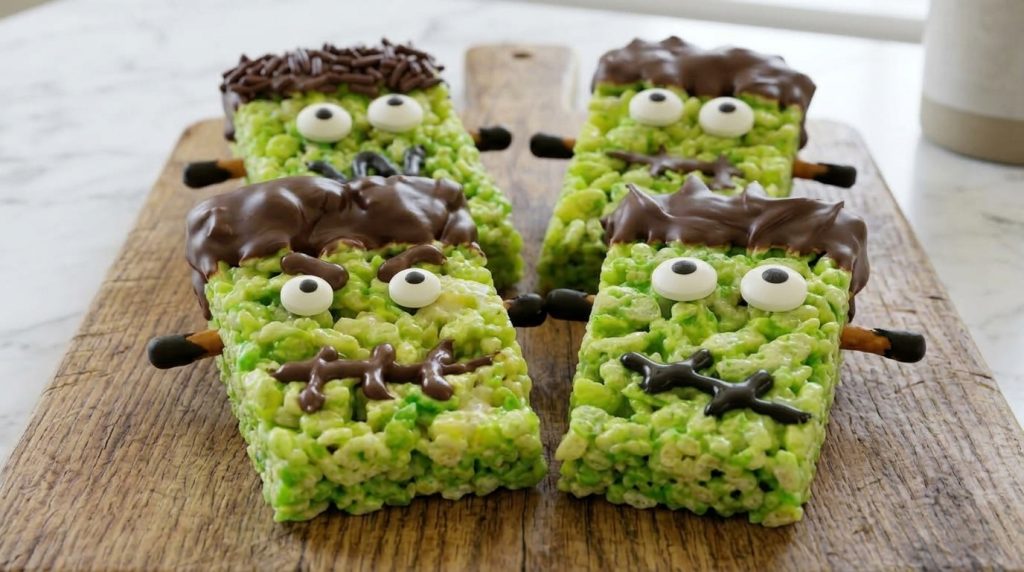

Easy No-Bake Frankenstein Rice Krispie Treats
Description
Soft, chewy green marshmallow cereal bars dipped in semisweet chocolate, finished with candy eyes, a stitched icing mouth and pretzel neck bolts. A simple no-bake Halloween treat that is easy for beginners and fun for kids to decorate.
Ingredients
Green Marshmallow Treats
Chocolate Hair
Face and Neck Bolts
Instructions
Prepare the pan
-
Lightly grease a 9×13-inch baking dish with butter, or line it with parchment paper, leaving some overhang on the long sides so you can lift the treats out later. Measure the cereal into a large mixing bowl and set aside 1 cup of the mini marshmallows. Having everything ready before you start melting makes the next steps calm and easy, as the mixture begins to set once it cools.
Melt the marshmallows
-
Melt the butter in a large saucepan over low heat. Add all the mini marshmallows except the reserved cup and stir constantly with a spatula until they are completely melted, smooth and glossy, about 4 to 5 minutes. Keep the heat low the whole time. Gentle heat keeps the finished bars soft and tender, while high heat can make them hard.
Add the color and flavor
-
Remove the saucepan from the heat. Stir in the salt, vanilla and green gel food coloring until the color is even and there are no streaks left. The mixture should look bright green and glossy. If you would like a deeper shade, add a little more coloring now, before the cereal goes in.
Fold in the cereal
-
Pour the green marshmallow mixture over the cereal in the mixing bowl and add the reserved cup of marshmallows. Fold gently with a greased spatula until every piece of cereal is evenly coated, about 1 minute. The reserved marshmallows will only partly melt, and this is exactly what you want, as they create soft, gooey pockets in the bars.
Press and set
-
Transfer the mixture to the prepared baking dish. Using a greased spatula or a lightly greased piece of parchment, press it into an even layer, reaching into the corners. Press just firmly enough to hold it together, as packing it down hard will make the bars dense. Leave it to set at room temperature for about 35 minutes, until firm enough to hold its shape when cut.
Cut the bars
-
Lift the slab out of the dish using the parchment overhang, or loosen the edges with a knife. Cut it into 12 rectangles, about 3 x 3 1/4 inches each, using a large knife lightly greased with butter. Wipe and re-grease the knife between cuts if it starts to stick. Line a tray with parchment paper for the finished bars.
Melt the chocolate
-
Place the chocolate chips and coconut oil in a small microwave-safe bowl. Heat in 30-second intervals, stirring well after each one, until the chocolate is smooth and glossy, about 1 to 1 1/2 minutes in total. If a few small lumps remain, keep stirring rather than heating again, as the warmth of the bowl will melt them gently.
Dip the hair
-
Hold one bar by its sides and dip the top 3/4 inch straight into the melted chocolate. Let the excess drip back into the bowl for a few seconds, then stand the bar upright on the lined tray. Repeat with the remaining bars. Chill the tray in the refrigerator for about 10 minutes, until the chocolate is firm and no longer shiny at the edges.
Decorate the faces
-
Pipe 2 small dots of icing just below the chocolate line on each bar and press a candy eye onto each dot. Pipe a short line for the mouth, then add small crossing lines to create stitches. Gently push one pretzel half into each side of the bar, near the bottom, to make the neck bolts. Leave the bars at room temperature for about 15 minutes, until the icing has set, before serving or stacking.
Note
Keep the heat low when melting the marshmallows. This is the most important step for soft, chewy treats.
Gel food coloring gives a strong color with only a small amount, so the mixture stays thick rather than watery. Liquid coloring can be used, but you will need more of it.
If the chocolate becomes thick or grainy, it has likely overheated. Stir in 1/2 teaspoon more coconut oil to help smooth it, and use shorter heating intervals next time.
Store the finished bars in a single layer, or with parchment between layers, in an airtight container at room temperature for up to 3 days. Avoid long storage in the refrigerator, as the bars firm up and moisture can smudge the chocolate and eyes. Freezing is not recommended once the bars are decorated.
To make ahead, prepare and cut the green bars up to 1 day in advance and keep them tightly wrapped at room temperature. Dip and decorate them on the day of serving, or the evening before, so the pretzel bolts stay crisp.
The calorie figure is an estimate based on the ingredients listed and will vary with the brands used.