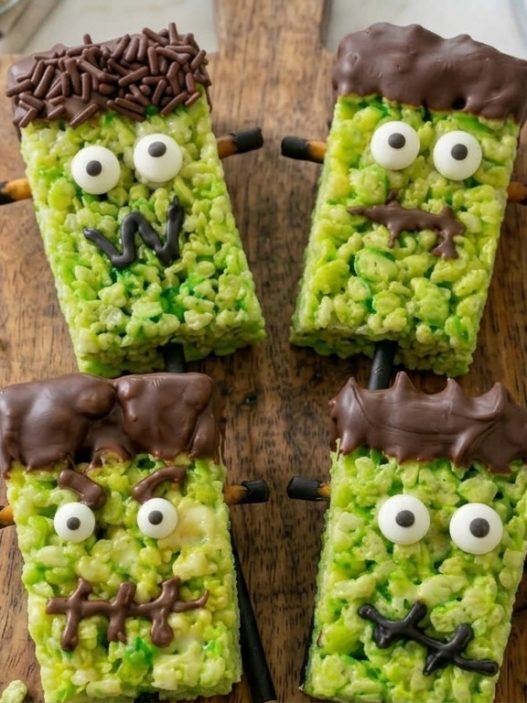






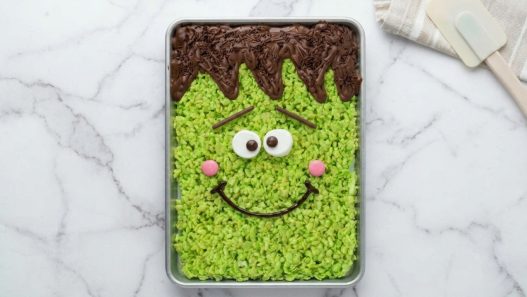
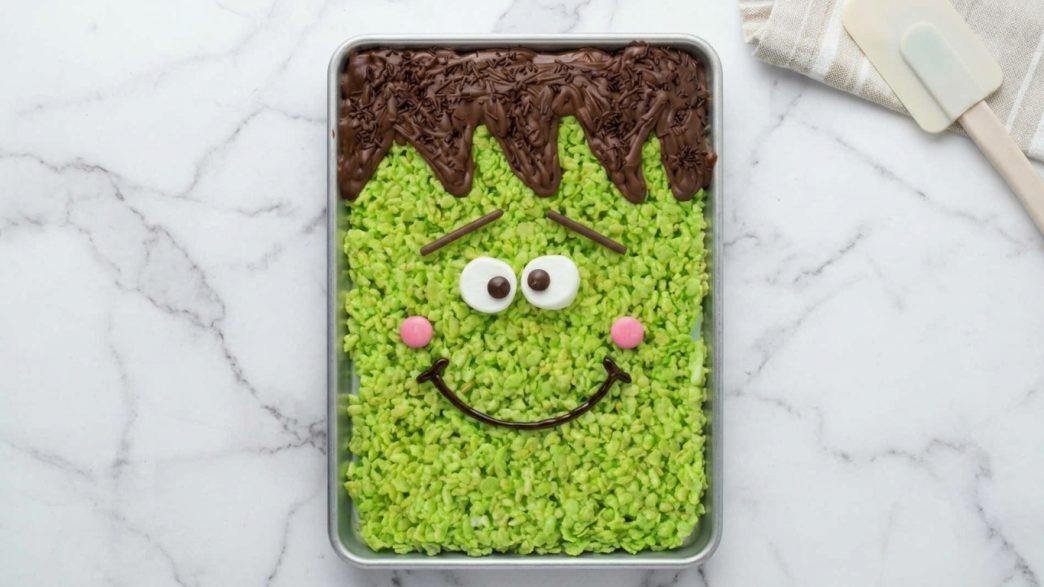
This Giant Frankenstein Rice Krispie Treat Cake is one big, soft green marshmallow cereal treat decorated as a monster face, with chocolate hair, marshmallow eyes, a stitched icing smile and pretzel neck bolts. It’s completely no-bake, made in a single 9×13-inch dish, and slices into 16 pieces, which makes it an easy Halloween party centerpiece.
What Makes This Giant Frankenstein Rice Krispie Treat Cake Great?
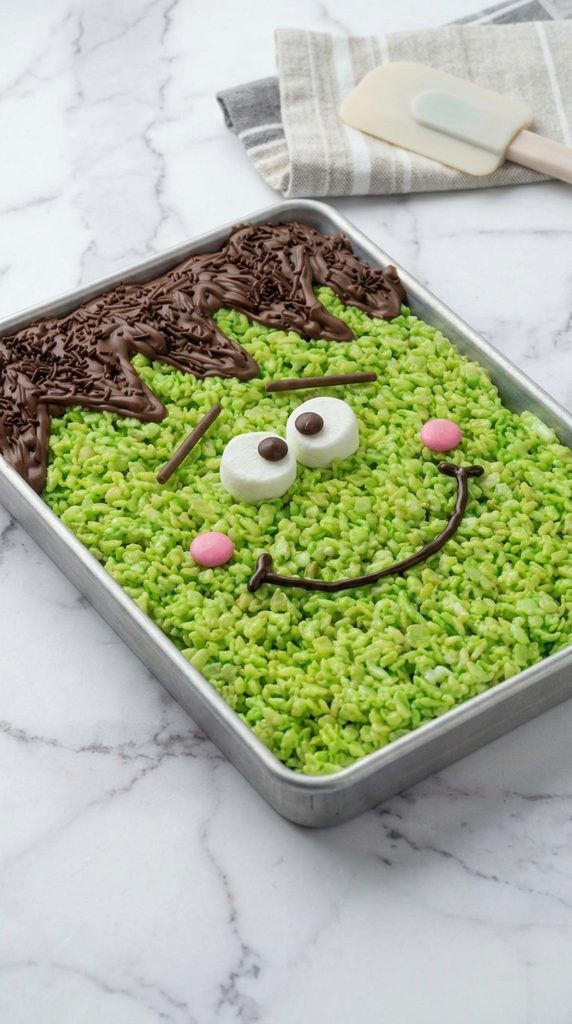
It’s one big treat, so you decorate a single face instead of a dozen tiny ones. The base stays soft because the marshmallows melt slowly over low heat, with a cup of whole marshmallows folded in at the end for gooey pockets. Lifting it onto a board with parchment gives you a proper “cake” moment without turning on the oven.
Why You’ll Love It
- No oven needed, everything happens on the stovetop and in the microwave, so it’s a safe project for younger helpers.
- Easy to make ahead, the green bars can be made the day before and decorated when you’re ready.
- Feeds a crowd from one pan, a single 9×13-inch treat cuts into 16 good-sized pieces for parties or school events.
- Kids can decorate their own, set out the eyes and icing and let everyone give their Frankenstein a different face.
- Simple pantry ingredients, cereal, marshmallows, butter and chocolate chips are easy to find, especially in October.
The Green Marshmallow Base
This is the whole body of your monster, so the texture really matters. A big treat like this needs to be soft enough to slice cleanly but sturdy enough to hold its shape on a board. The trick? Low heat and a gentle hand when pressing it into the dish.
A little salt and vanilla stop it from tasting flat and overly sweet. Gel food coloring gives a bright green with only a small amount, so the mixture stays thick instead of turning runny.
What You’ll Need for the Green Marshmallow Base
- 10 tablespoons unsalted butter, plus extra for greasing, adds rich flavor and keeps the treat tender.
- 16 oz mini marshmallows, divided, melt quickly and evenly, and a cup held back makes gooey pockets.
- 1/4 teaspoon fine salt, balances the sweetness.
- 1 teaspoon vanilla extract, gives a warm, homemade flavor.
- 3/4 teaspoon green gel food coloring, gives a strong monster green without thinning the mixture.
- 9 cups crisp rice cereal, Rice Krispies or a store brand both work well, as long as it’s fresh and crunchy.
The Chocolate Hair and Brows
Frankenstein’s flat, spiky hairline is what makes the face instantly recognizable. A layer of melted chocolate across the top quarter of the treat does the job, and pulling it down in short strokes gives that messy, jagged edge.
Semisweet chocolate sits nicely between sweet and bitter, so it balances all that marshmallow. A small amount of coconut oil keeps it smooth and glossy, and a couple of spoonfuls get saved for piping thick, grumpy brows.
What You’ll Need for the Chocolate Hair and Brows
- 1 cup semisweet chocolate chips, melts smoothly and contrasts with the sweet green base.
- 2 teaspoons coconut oil, thins the chocolate so it spreads and pipes easily.
- 2 tablespoons chocolate sprinkles, give the hair texture and a bit of crunch.
The Face and Neck Bolts
Honestly, this is the fun part. A single large marshmallow, cut in half, makes two big googly eyes. The cut side is sticky, so it holds in place without any glue.
What You’ll Need for the Face and Neck Bolts
- 1 large marshmallow, cut in half to make the eyes.
- 2 brown candy-coated chocolates, make the pupils.
- 2 tablespoons black decorating icing, for piping the stitched mouth and an optional scar.
- 1 pretzel rod, cut in half for the neck bolts (optional)
How to Make a Giant Frankenstein Rice Krispie Treat Cake
Prep the Pan
Grease a 9×13-inch baking dish with butter, then line it with parchment paper, leaving a good overhang on the two long sides.
That overhang is what lets you lift the whole treat out in one piece later. Measure the cereal into a large bowl and set aside 1 cup of the mini marshmallows.
Melt the Marshmallows
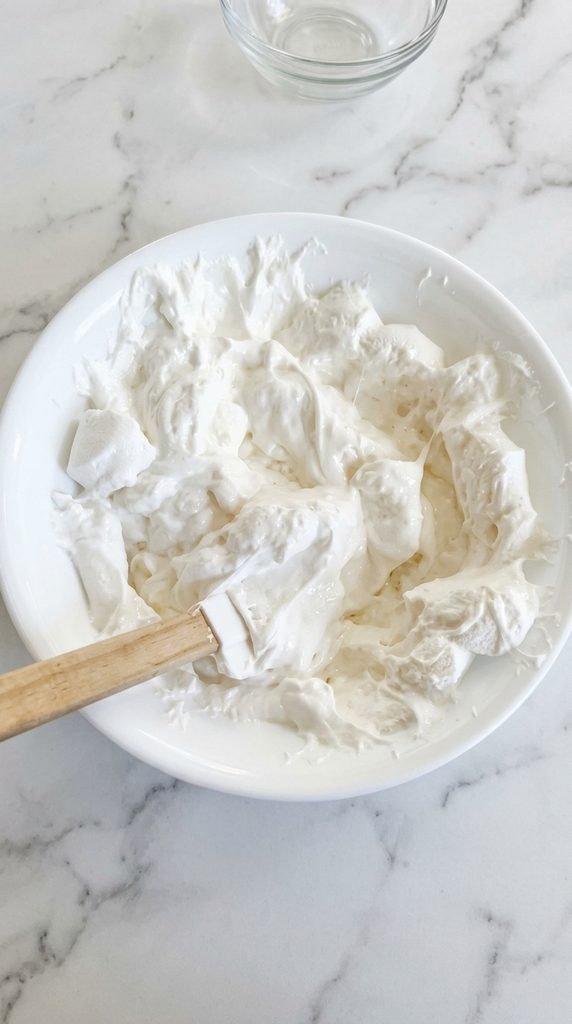
Melt the butter in a large saucepan over low heat. Add all the mini marshmallows except the reserved cup and stir constantly until completely melted, smooth and glossy, about 5 to 6 minutes.
Keep the heat low the whole time. It feels slow, but rushing on high heat is exactly what makes these treats hard.
Add the Color and Flavor
Take the pan off the heat and stir in the salt, vanilla and green gel coloring until there are no streaks left. It should look bright green and shiny.
Want it darker? Add a little more coloring now, before the cereal goes in.
Fold in the Cereal
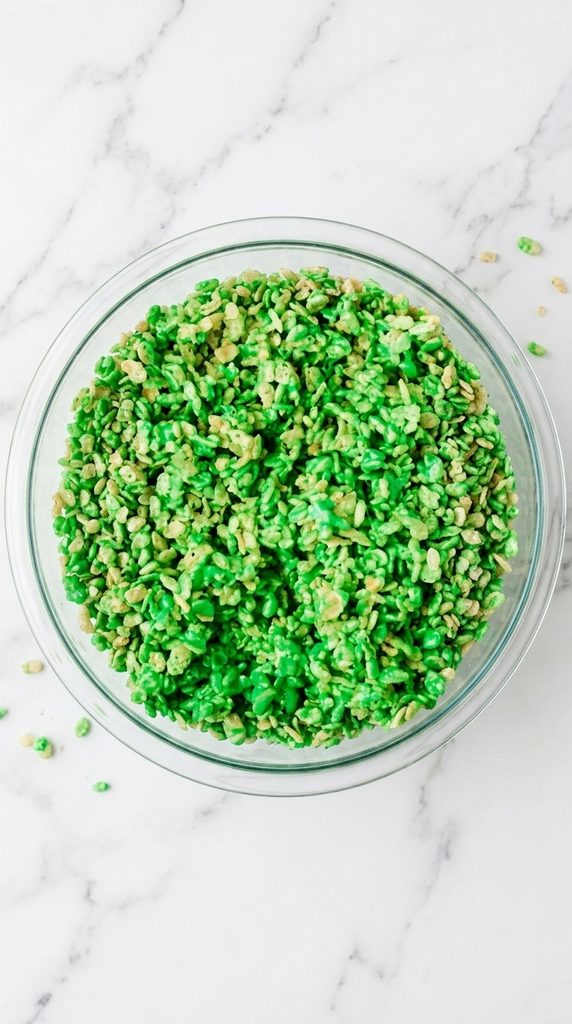
Pour the green mixture over the cereal and add the reserved cup of marshmallows.
Fold gently with a greased spatula for 1 to 2 minutes, until every piece is coated. The extra marshmallows will only half melt, and that’s what you want.
Press and Set
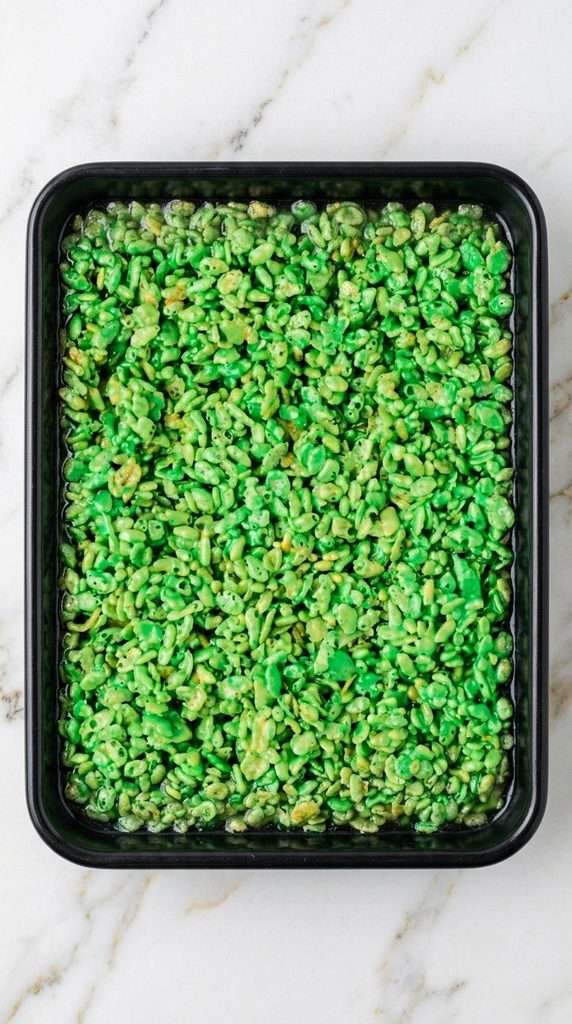
Tip the mixture into the prepared dish and press it into an even layer with a greased spatula or a piece of lightly greased parchment.
Press just enough to fill the corners, don’t pack it down hard. Leave it at room temperature for about 40 minutes, until firm to the touch.
Move It to a Board (Optional)
Use the parchment overhang to lift the treat out and slide it onto a large serving board or platter, then peel the parchment away.
Turn it so a short 9-inch side sits at the top. That end becomes the forehead and hairline.
If you prefer to leave it in the baking tray you can absolutely do that and just move to decorating!
Melt the Chocolate
Put the chocolate chips and coconut oil in a small microwave-safe bowl.
Heat in 30-second bursts, stirring well each time, until smooth and glossy, about 1 to 1 1/2 minutes total. Spoon about 2 tablespoons into a small zip-top bag and set it aside for the brows.
Add the Hair
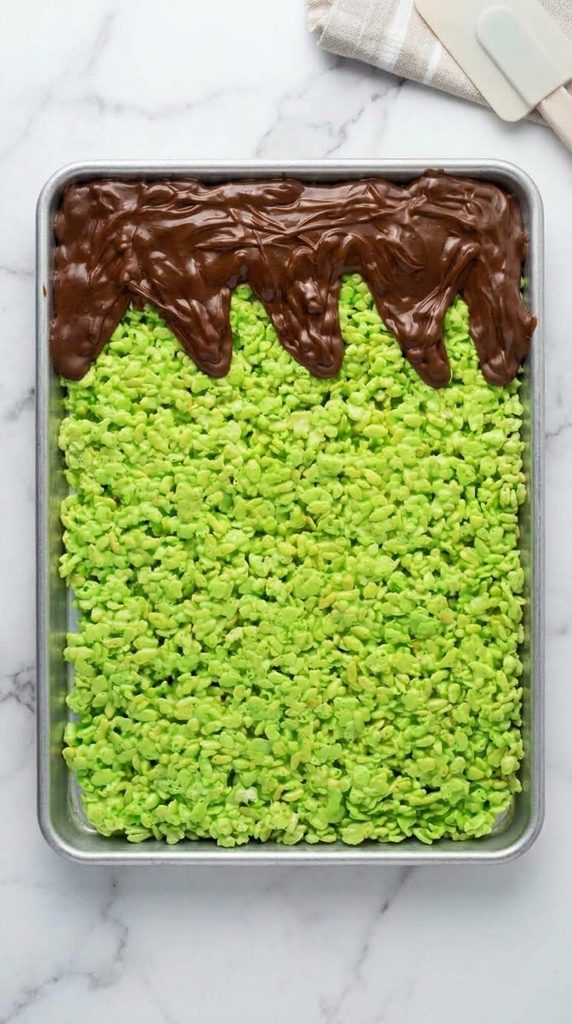
Pour the rest of the chocolate over the top quarter of the treat and spread it to the top edge with the back of a spoon. Pull the chocolate downward in short strokes to make a jagged hairline. Scatter over the chocolate sprinkles while it’s still wet so they stick.
Make the Eyes
Cut the large marshmallow in half crosswise with kitchen scissors.
Press each half, sticky side down, just below the hairline with a small gap between them.
Dab a tiny bit of chocolate from the bag onto each one and press on a candy-coated chocolate for the pupils.
Pipe the Brows and Mouth
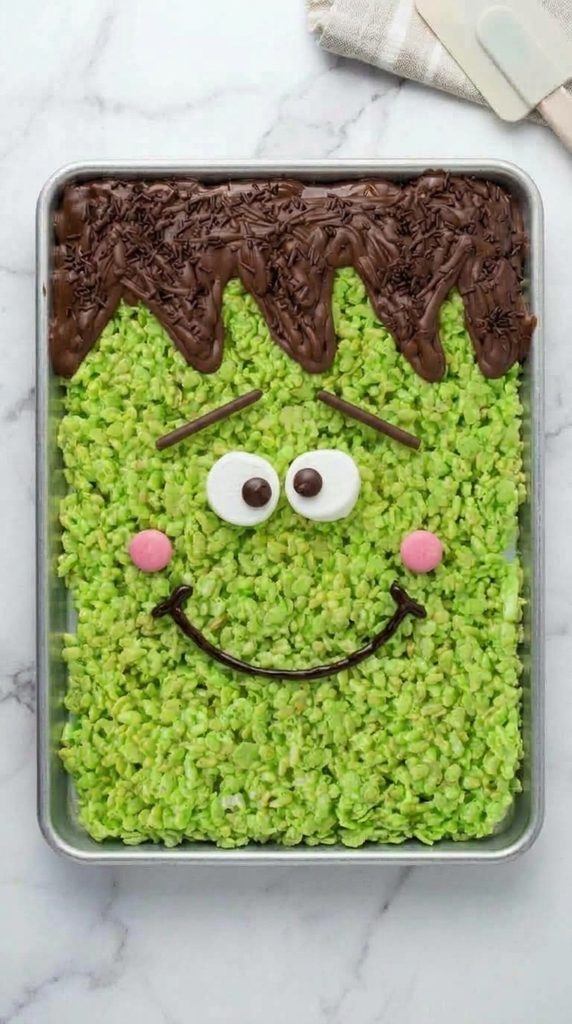
Snip a very small corner off the zip-top bag and pipe a thick, straight brow above each eye.
Use the black icing to pipe a wide mouth, then add short crossing lines for stitches or keep it friendly with a simple smile line!
A little stitched scar on the forehead is a nice extra touch.
Add the Neck Bolts (If you’ve taken it out of baking tray)
Push one pretzel rod half into each long side near the bottom, twisting slightly so it slides in cleanly.
Let It Chill
Chill the whole treat for about 15 minutes, until the chocolate is firm.
Let it sit at room temperature for 5 minutes, then slice into 16 pieces with a large knife greased with a little butter.
Variations and Customizations
This giant treat is easy to adapt, whether you’re working with what’s already in the cupboard or planning a whole monster theme for a party.
- Make it taller, use a 9×9-inch dish for a thicker, chunkier “cake” that cuts into 9 larger pieces.
- Swap the chocolate, milk chocolate gives a sweeter hairline, and dark chocolate gives a richer, less sweet one.
- Change the monster, color the base purple or orange and decorate it as a different Halloween character.
- Mix up the cereal, use half crisp rice cereal and half Cheerios or cornflakes for more crunch.
- Make it dairy-free, use plant-based butter and dairy-free chocolate chips, and check the labels on the marshmallows and cereal.
- Use frosting for the hair, spread about 1 cup of chocolate frosting instead of melted chocolate for a softer, fluffier look.
Toppings, Add-Ons, and Finishing Touches
The basic face looks great on its own, but a few extras make it even more dramatic on a party table. They’re also a nice way to let kids put their own stamp on it.
- Green sanding sugar, sprinkle over the face for a sparkly finish.
- White icing, pipe small teeth along the mouth or highlights in the eyes.
- Mini chocolate chips, press in as nostrils or extra stitches.
- Candy eyes, add a few extra around the board for a spooky border.
- Crushed chocolate cookies, scatter around the base of the board as “dirt.”
Storing, Reheating, and Meal Prep
Store leftover pieces in a single layer, or with parchment between layers, in an airtight container at room temperature for up to 3 days. Avoid keeping it in the fridge long-term, because the cold firms up the marshmallow and condensation can smudge the chocolate and icing. Freezing isn’t recommended once it’s decorated.
To get ahead, make the green base up to 1 day before, leave it in the dish and cover it tightly at room temperature. Decorate it on the day so the pretzel bolts stay crisp and the chocolate looks glossy. If leftover pieces feel a little firm, 5 to 8 seconds in the microwave softens them right back up, just pull out any pretzel first.
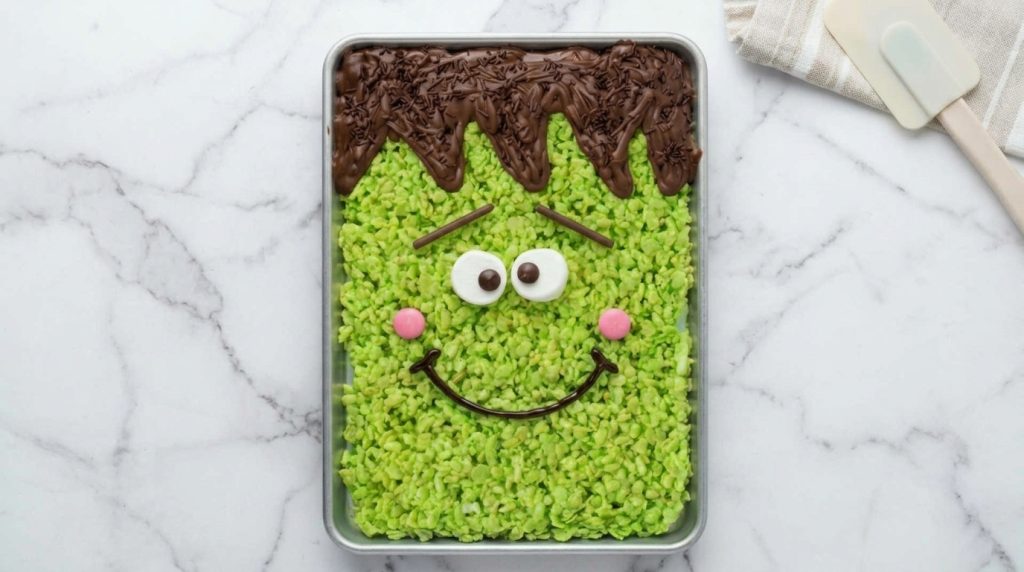

Giant Frankenstein Rice Krispie Treat Cake
Description
One big, soft green marshmallow cereal treat decorated as a Frankenstein face, with chocolate hair, marshmallow eyes, a stitched smile and pretzel neck bolts. A no-bake Halloween centerpiece that is sliced like a cake and easy for beginners to make.
Ingredients
Green Marshmallow Base
Chocolate Hair and Brows
Face and Neck Bolts
Instructions
Prepare the pan
-
Grease a 9×13-inch baking dish with butter, then line it with parchment paper, leaving a generous overhang on the two long sides. The parchment lets you lift the whole treat out in one piece and place it on a board like a cake. Measure the cereal into a large mixing bowl and set aside 1 cup of the mini marshmallows.
Melt the marshmallows
-
Melt the butter in a large saucepan over low heat. Add all the mini marshmallows except the reserved cup and stir constantly with a spatula until completely melted, smooth and glossy, about 5 to 6 minutes. Keep the heat low throughout. It may feel slow, but gentle heat is what keeps the finished treat soft and chewy.
Add the color and flavor
-
Remove the saucepan from the heat. Stir in the salt, vanilla and green gel food coloring until the color is even with no streaks remaining. The mixture should be bright green and glossy. If you would like a deeper shade, add a little more coloring now, before the cereal goes in.
Fold in the cereal
-
Pour the green mixture over the cereal and add the reserved cup of marshmallows. Fold gently with a greased spatula until every piece of cereal is coated, about 1 to 2 minutes. The mixture will be thick and sticky, and the reserved marshmallows will only partly melt. This is normal and gives the treat soft, gooey pockets.
Press and set
-
Transfer the mixture to the prepared dish. Using a greased spatula or a lightly greased piece of parchment, press it into an even layer, reaching into the corners. Press just firmly enough to hold it together, as packing it tightly will make it dense. Leave it at room temperature for about 40 minutes, until firm to the touch.
Move to a serving board
-
Lift the treat out of the dish using the parchment overhang and slide it onto a large serving board or platter, peeling the parchment away. Turn it so one of the short 9-inch sides is at the top, as this becomes the forehead and hairline.
Melt the chocolate
-
Place the chocolate chips and coconut oil in a small microwave-safe bowl. Heat in 30-second intervals, stirring well after each one, until smooth and glossy, about 1 to 1 1/2 minutes in total. If a few small lumps remain, keep stirring rather than heating again. Spoon about 2 tablespoons of the chocolate into a small zip-top bag and set it aside for the brows.
Add the hair
-
Pour the remaining chocolate across the top quarter of the treat. Spread it with the back of a spoon to cover the top edge, then pull the chocolate downward in short strokes to create a jagged hairline. Scatter the chocolate sprinkles over the chocolate while it is still wet so they stick.
Make the eyes
-
Cut the large marshmallow in half crosswise with kitchen scissors. Press each half, cut side down, onto the green face just below the hairline, leaving a small gap between them. The cut side is sticky and will hold without any extra help. Dab a tiny amount of chocolate from the bag onto each marshmallow and press on a candy-coated chocolate for the pupils.
Pipe the brows and mouth
-
Snip a very small corner from the zip-top bag and pipe a thick, straight brow above each eye. Using the black decorating icing, pipe a wide line for the mouth, then add short crossing lines to make stitches. You can also pipe a small stitched scar on the forehead if you like.
Add the neck bolts
-
Gently push one pretzel rod half into each long side of the treat, near the bottom, so they stick out like neck bolts. Twist them slightly as you push, and they will slide in without breaking the treat.
Chill and serve
-
Place the decorated treat in the refrigerator for about 15 minutes, until the chocolate is firm and set. Let it sit at room temperature for 5 minutes before slicing so the base softens slightly. Cut into 16 pieces with a large knife lightly greased with butter, wiping it between cuts for clean edges.
Note
Notes
Keep the heat low when melting the marshmallows. This is the most important step for a soft treat that is easy to slice.
Gel food coloring gives a strong green with only a small amount, which keeps the mixture thick. Liquid coloring can be used, but you will need more of it.
If the chocolate becomes thick or grainy, it has likely overheated. Stir in 1/2 teaspoon more coconut oil to smooth it, and use shorter heating intervals next time.
Store leftover pieces in a single layer in an airtight container at room temperature for up to 3 days. Avoid long storage in the refrigerator, as the base firms up and moisture can smudge the chocolate and icing. Freezing is not recommended once decorated.
To make ahead, prepare the green base up to 1 day in advance, leave it in the dish and cover it tightly at room temperature. Decorate on the day of serving so the pretzel bolts stay crisp.
The calorie figure is an estimate based on the ingredients listed and will vary with the brands used.