




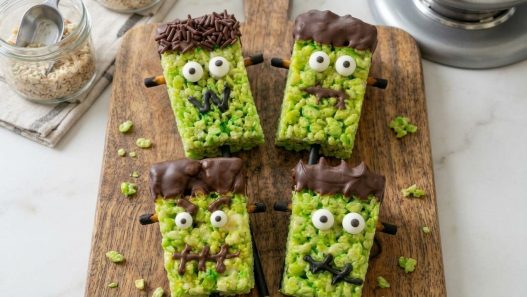
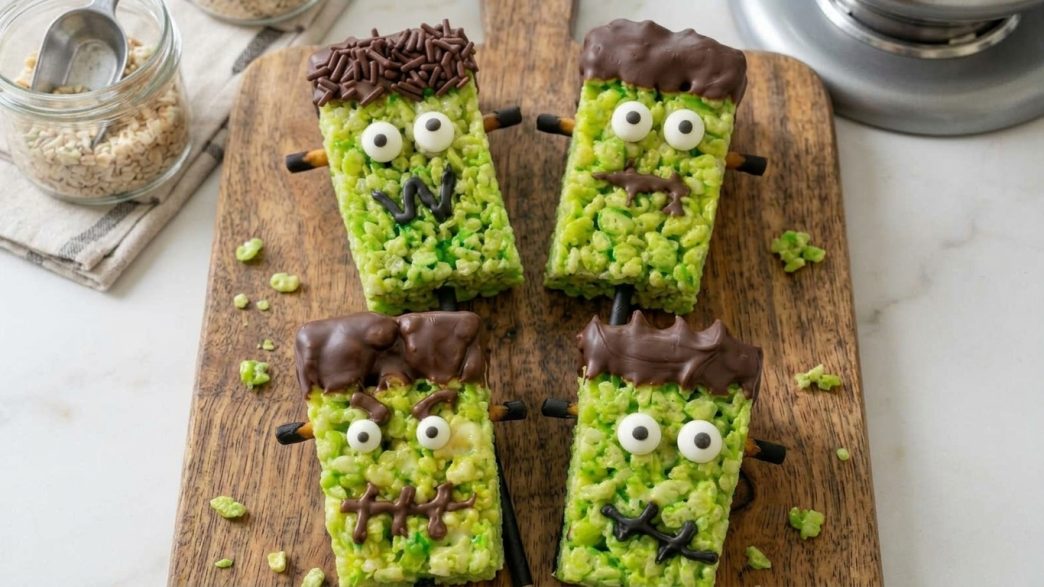
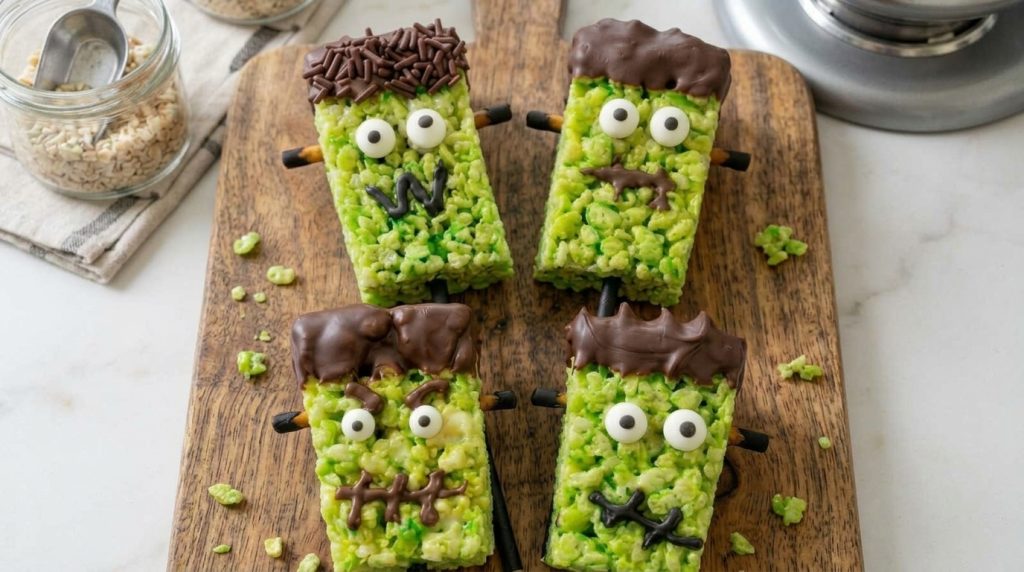
These Frankenstein Rice Krispie Treat Pops are soft, homemade green marshmallow bars on lollipop sticks, dipped in chocolate “hair” and finished with candy eyes, stitched icing mouths and chocolate-tipped pretzel neck bolts. They’re no-bake, make 12 pops from one pan, and are easy to hand out at Halloween parties or wrap as class treats.
What Makes These Frankenstein Rice Krispie Treat Pops Great?
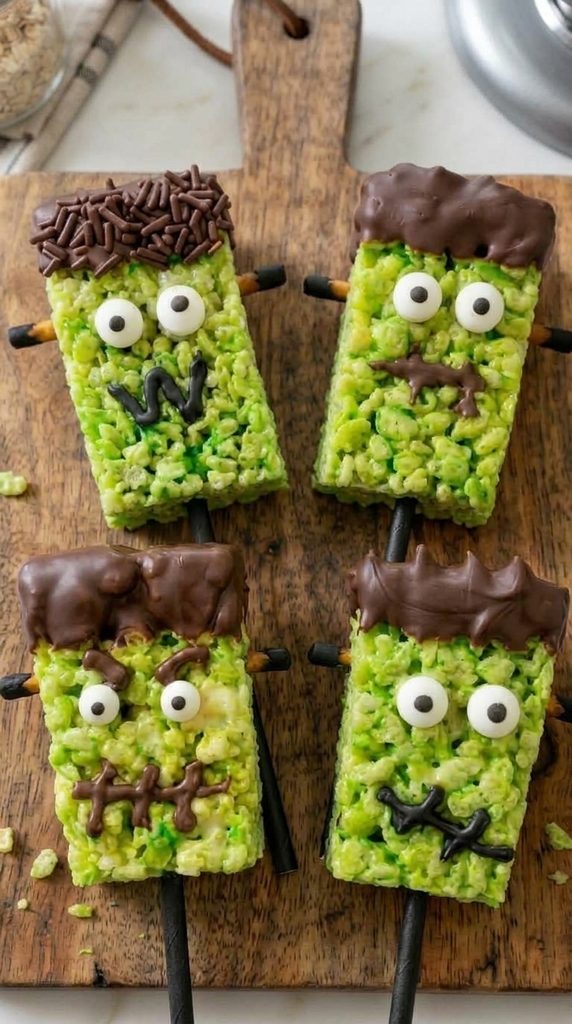
The base is made from scratch, so it’s softer and chewier than store-bought treats and you control exactly how green it gets. The pops are cut tall and thick so the sticks hold firm, and a dab of chocolate on each stick locks it in place. The pretzel bolts are the finishing touch, and they add a salty crunch that plain candy can’t.
Why You’ll Love It
- Easy to hand out, the sticks mean no sticky fingers and no plates, which really helps at parties and school events.
- Kids can decorate their own, set out the eyes, sprinkles and icing and let everyone give their monster a different face.
- Makes 12 pops from one pan, enough for a class or party without making multiple batches.
- Good for gifting, each pop fits neatly into a cellophane treat bag.
- No oven needed, everything is done on the stovetop and in the microwave.
The Green Marshmallow Pops
This is the body of your monster, and it needs to do two jobs. It has to stay soft and chewy, but it also has to be sturdy enough to hold a stick without splitting. That’s why this version uses a little more cereal and a slightly thicker layer than a regular batch of treats.
Low heat is the key to soft treats, so don’t rush the marshmallows. A pinch of salt and some vanilla make it taste homemade, and gel coloring gives that bright monster green without thinning the mixture.
What You’ll Need for the Green Marshmallow Pops
- 8 tablespoons unsalted butter, plus extra for greasing, keeps the treats rich and tender.
- 16 oz mini marshmallows, divided, melt evenly, and a cup held back creates gooey pockets.
- 1/4 teaspoon fine salt, balances the sweetness.
- 1 teaspoon vanilla extract, adds a warm, homemade flavor.
- 3/4 teaspoon green gel food coloring, gives a bright green with only a little added.
- 9 cups crisp rice cereal, Rice Krispies or a store brand, as long as it’s fresh and crunchy.
- 12 lollipop sticks, 6 inches long, give each pop a sturdy handle.
The Chocolate Hair
Every Frankenstein needs that flat, spiky hairline. A quick dip in melted chocolate does it in seconds, and you can leave some smooth and cover others in chocolate sprinkles so each monster looks a little different.
The same chocolate also works as glue for the sticks and as a coating for the tips of the neck bolts. Semisweet chips melt smoothly, and a little coconut oil keeps the chocolate thin enough for dipping.
What You’ll Need for the Chocolate Hair
- 1 1/2 cups semisweet chocolate chips, for the hair, the stick glue and the bolt tips.
- 1 tablespoon coconut oil, thins the chocolate for easy dipping and a glossy finish.
- 1/4 cup chocolate jimmies, give some of the monsters a textured, messy hairstyle.
The Face and Neck Bolts
What gives a Frankenstein its personality? Mostly the eyes and that wonky stitched mouth. Candy eyes stick on with a dot of icing, and a piped line with little crossing stitches does the rest.
For the bolts, thin pretzel sticks snapped in half and dipped in chocolate at one end look just like the real thing. They push straight into the sides of each pop, no glue needed.
What You’ll Need for the Face and Neck Bolts
- 24 candy eyes, 2 per pop, and mixing sizes makes each face a little different.
- 1/4 cup black decorating icing, for sticking on the eyes and piping mouths and stitches.
- 12 thin pretzel sticks, snapped in half to make 24 short neck bolts.
How to Make Frankenstein Rice Krispie Treat Pops
Prep the Pan
Grease a 9×13-inch baking dish with butter and line it with parchment paper, leaving an overhang on the long sides.
Measure the cereal into a large bowl and set aside 1 cup of the mini marshmallows.
Everything moves quickly once the marshmallows are melted, so it’s worth having it all ready.
Melt the Marshmallows
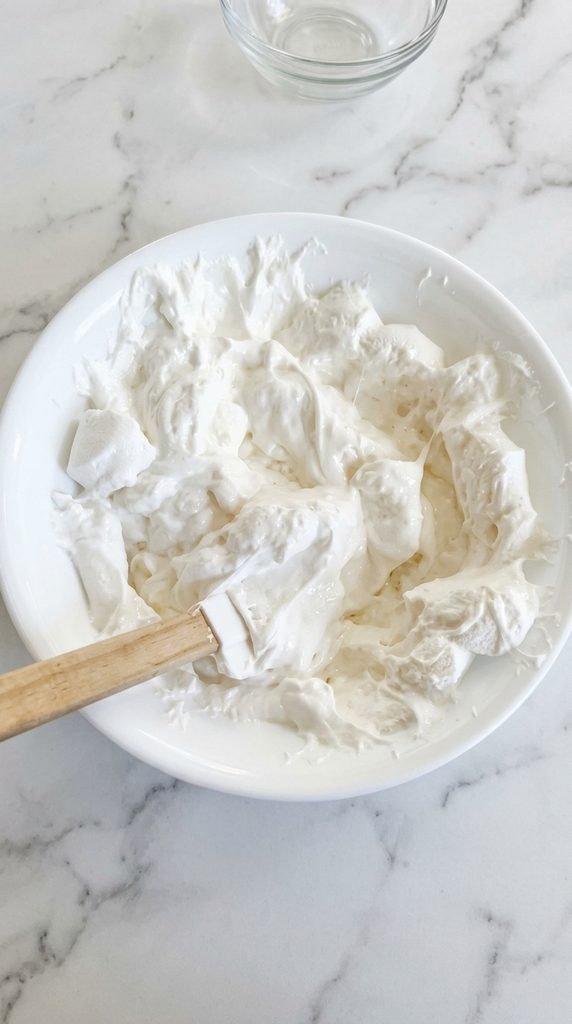
Melt the butter in a large saucepan over low heat.
Add all the mini marshmallows except the reserved cup and stir constantly until melted, smooth and glossy, about 5 to 6 minutes.
Keep the heat low the whole time, because high heat is what makes these treats hard and crunchy.
Color and Flavor the Mixture
Take the pan off the heat and stir in the salt, vanilla and green gel coloring until there are no streaks left. It should look bright green and shiny.
Add a touch more coloring now if you want it deeper, before the cereal goes in.
Fold in the Cereal
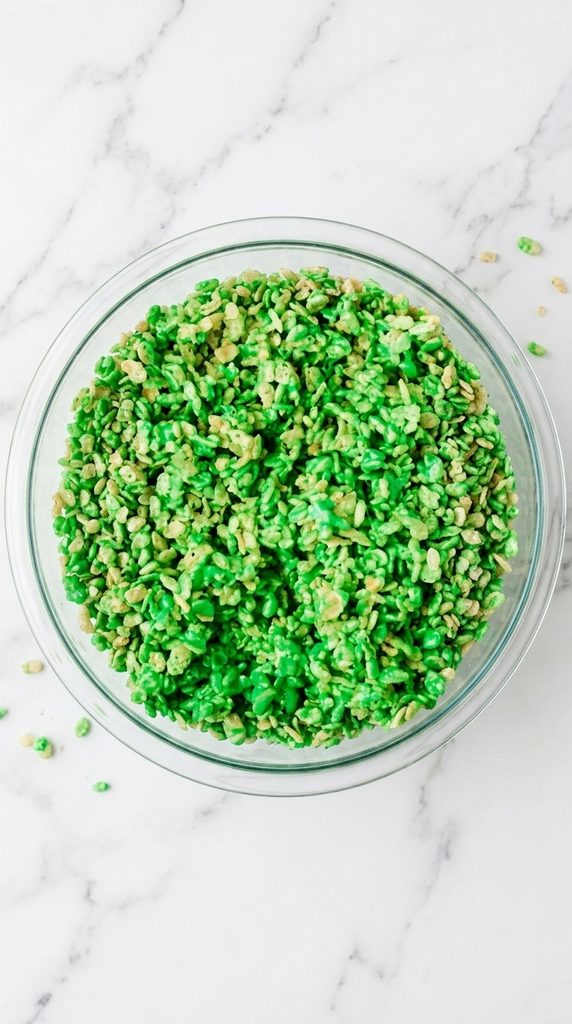
Pour the green mixture over the cereal and add the reserved cup of marshmallows.
Fold gently with a greased spatula for 1 to 2 minutes, until every piece is coated. It’ll be thick and sticky, and that’s exactly right.
Press and Set
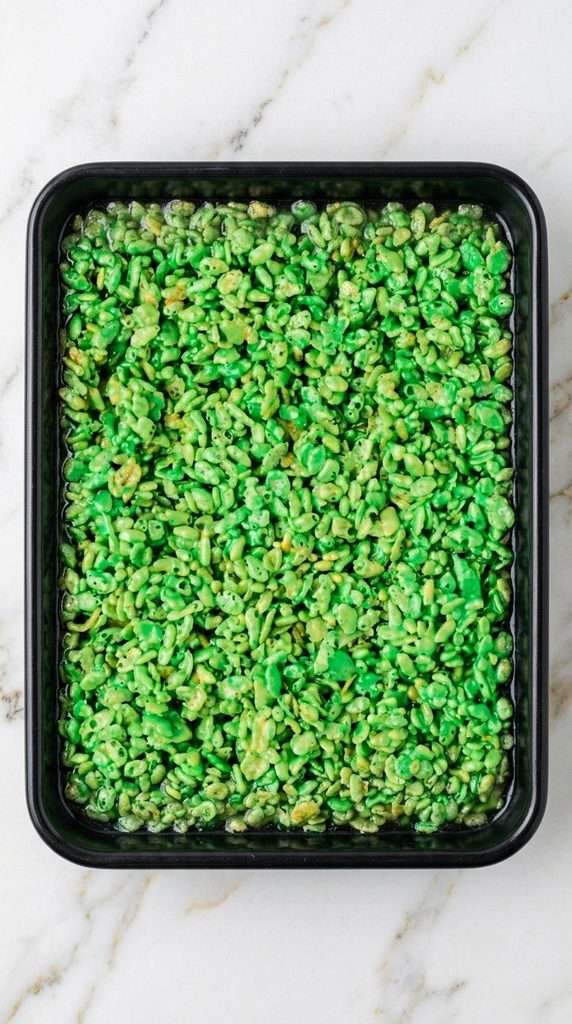
Tip the mixture into the dish and press it into an even layer with a greased spatula or a piece of lightly greased parchment.
Press firmly enough to fill the corners, but don’t pack it down hard. Leave it at room temperature for about 40 minutes, until firm to the touch.
Cut the Pops
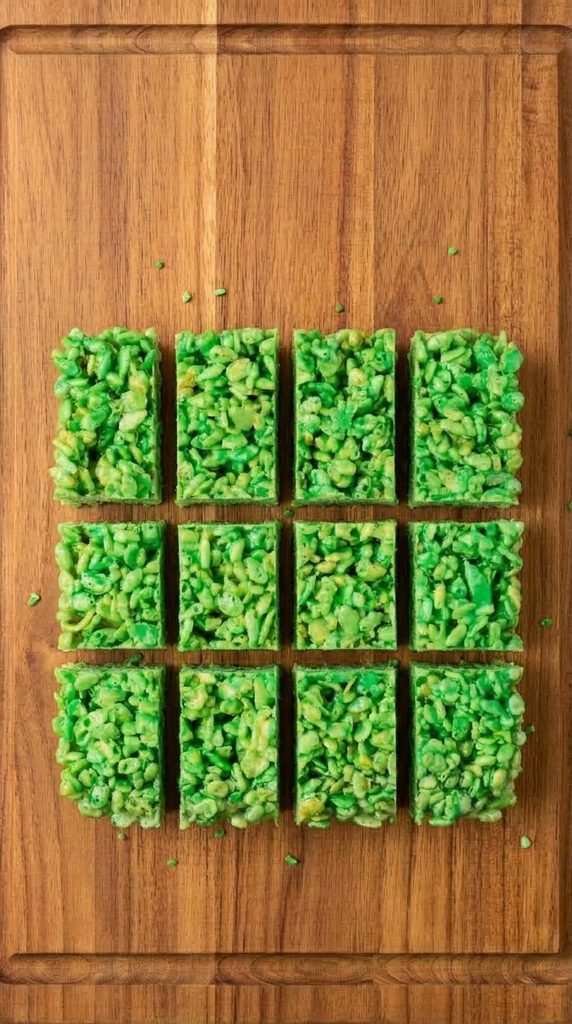
Lift the slab out using the parchment and cut it in half lengthwise, then cut each half into 6 strips.
That gives you 12 tall bars, about 2 x 4 1/2 inches each. A large knife lightly greased with butter gives clean edges.
Melt the Chocolate
Put the chocolate chips and coconut oil in a small, deep microwave-safe bowl. Heat in 30-second bursts, stirring well after each one, until smooth and glossy, about 1 1/2 to 2 minutes total.
A deep bowl makes dipping easier because the chocolate sits higher up the sides.
Add the Sticks
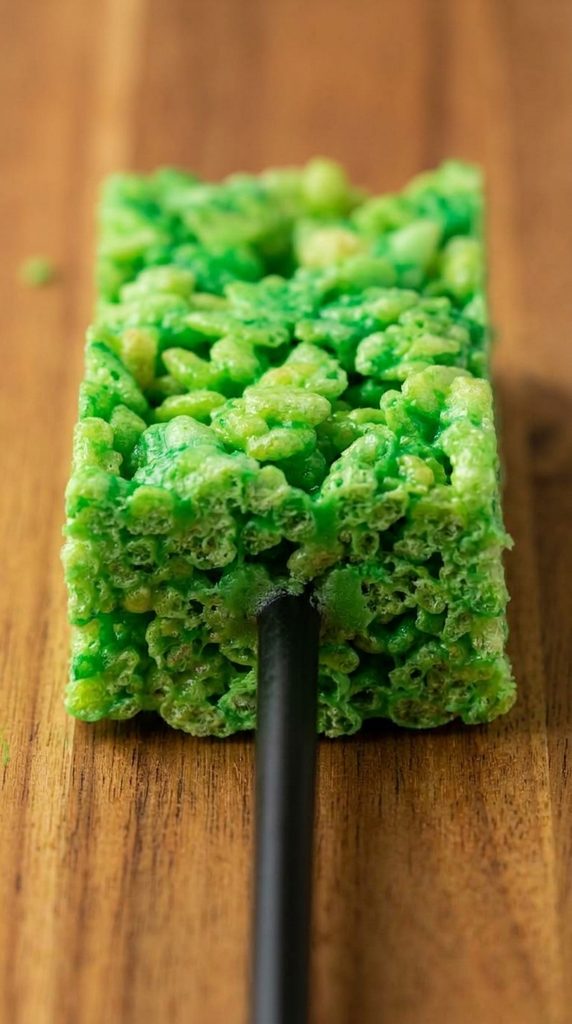
Dip the tip of a lollipop stick about 1/2 inch into the chocolate. Push it straight up into the bottom of a bar, about 1 1/2 inches deep, keeping it centered so it doesn’t poke through the front or back.
Repeat with the rest, lay them flat on a parchment-lined tray and chill for 10 minutes so the chocolate sets and holds the sticks firmly.
Make the Neck Bolts
While the sticks set, dip one end of each pretzel half into the chocolate and lay them on parchment.
Chill them alongside the pops for about 10 minutes, until the chocolate tips are firm. Keep the bowl of chocolate somewhere warm, or rewarm it for 10 to 15 seconds before the next step.
Dip the Hair
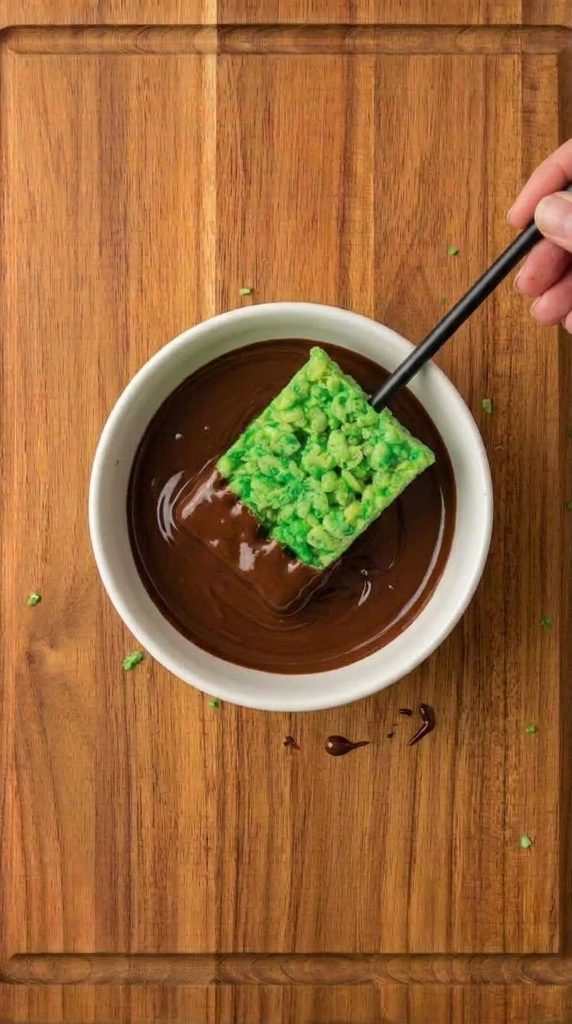
Hold each pop by the stick and dip the top 3/4 inch into the chocolate, letting the extra drip off. For a sprinkle hairstyle, press chocolate jimmies onto the wet chocolate straight away.
Lay the pops flat on the parchment, or stand them upright in a mug filled with dried rice, and chill for 10 minutes until the chocolate is firm.
Decorate the Faces
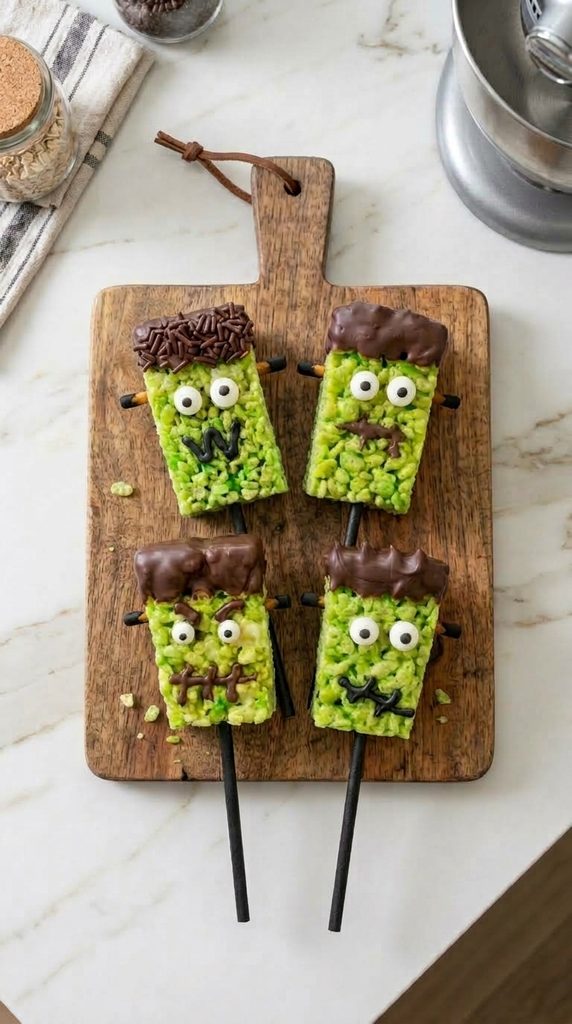
Pipe 2 small dots of icing below the hairline and press on the candy eyes. Pipe a mouth, then add short crossing lines for stitches, and a small brow above each eye if you like.
Push a pretzel bolt, plain end first, into each side of the pop near the bottom, then let the icing set for about 15 minutes before serving.
Variations and Customizations
Want every pop to look different? The base recipe stays the same, and you can switch up the decorations or ingredients depending on what you have.
- Swap the chocolate, milk chocolate gives sweeter hair and dark chocolate gives richer, less sweet hair.
- Try frosting hair, pipe chocolate frosting on top instead of dipping for a softer, spikier look.
- Make them smaller, cut 24 squares for bite-sized pops and use mini candy eyes.
- Color them differently, make a purple or orange batch for a mixed monster party tray.
- Make them dairy-free, use plant-based butter and dairy-free chocolate chips, and check the marshmallow and cereal labels.
Toppings, Add-Ons, and Finishing Touches
A few small extras can make these pops look even more fun, especially if they’re going on a party table. They also give kids more options when decorating their own.
- Rainbow or green sprinkles, press onto the hair for a brighter, more playful look.
- White icing, pipe small teeth along the mouth or a highlight in each eye.
- Mini chocolate chips, stick on with icing for nostrils or extra stitches.
- Paper straws, slide over the lollipop sticks for a colorful, party-ready finish.
- Cellophane treat bags and ribbon, turn each pop into an easy Halloween gift or party favor.
Storing, Reheating, and Meal Prep
Store the finished pops in a single layer, or with parchment between layers, in an airtight container at room temperature for up to 3 days. If you’re bagging them individually, wait until the icing and chocolate are completely set, and tie the bags tightly so the treats don’t dry out. Avoid long storage in the fridge, as the treats firm up and condensation can smudge the chocolate and icing. Freezing isn’t recommended once they’re decorated.
To get ahead, make and cut the green bars up to 1 day before and keep them tightly wrapped at room temperature. Add the sticks, dip and decorate on the day, or the evening before, so the pretzel bolts stay crisp and the chocolate stays glossy.

Frankenstein Rice Krispie Treat Pops
Description
Soft, homemade green marshmallow cereal bars on lollipop sticks, dipped in chocolate hair and finished with candy eyes, stitched icing mouths and chocolate-tipped pretzel neck bolts. A no-bake Halloween treat that is easy to hand out at parties and simple for beginners to make.
Ingredients
Green Marshmallow Pops
Chocolate Hair
Face and Neck Bolts
Instructions
Prepare the pan
-
Grease a 9×13-inch baking dish with butter, then line it with parchment paper, leaving an overhang on the two long sides. Measure the cereal into a large mixing bowl and set aside 1 cup of the mini marshmallows. Having everything ready before you begin helps the next steps go smoothly, as the mixture starts to set once it cools.
Melt the marshmallows
-
Melt the butter in a large saucepan over low heat. Add all the mini marshmallows except the reserved cup and stir constantly with a spatula until they are completely melted, smooth and glossy, about 5 to 6 minutes. Keep the heat low throughout. Gentle heat keeps the finished pops soft and tender, while high heat can make them hard.
Add the color and flavor
-
Remove the saucepan from the heat. Stir in the salt, vanilla and green gel food coloring until the color is even with no streaks remaining. The mixture should look bright green and glossy. If you would like a deeper shade, add a little more coloring now, before the cereal goes in.
Fold in the cereal
-
Pour the green mixture over the cereal and add the reserved cup of marshmallows. Fold gently with a greased spatula until every piece of cereal is coated, about 1 to 2 minutes. The mixture will be thick and sticky, and the reserved marshmallows will only partly melt. This is normal and creates soft, gooey pockets.
Press and set
-
Transfer the mixture to the prepared dish. Using a greased spatula or a lightly greased piece of parchment, press it into an even layer, reaching into the corners. Press just firmly enough to hold it together, as packing it tightly will make it dense. Leave it at room temperature for about 40 minutes, until firm to the touch.
Cut the pops
-
Lift the slab out of the dish using the parchment overhang. Cut it in half lengthwise, then cut each half into 6 strips to make 12 bars, about 2 x 4 1/2 inches each. Use a large knife lightly greased with butter, wiping it between cuts if it begins to stick. Line a tray with parchment paper.
Melt the chocolate
-
Place the chocolate chips and coconut oil in a small, deep microwave-safe bowl. Heat in 30-second intervals, stirring well after each one, until the chocolate is smooth and glossy, about 1 1/2 to 2 minutes in total. If a few small lumps remain, keep stirring rather than heating again, as the warmth of the bowl will melt them gently.
Attach the sticks
-
Dip the tip of a lollipop stick about 1/2 inch into the melted chocolate. Push it straight into the center of the bottom edge of a bar, about 1 1/2 inches deep, keeping it level so it does not break through the front or back. Repeat with the remaining bars and lay them flat on the lined tray. Chill for about 10 minutes, until the chocolate has set and the sticks feel secure.
Prepare the neck bolts
-
While the pops chill, dip one end of each pretzel half into the chocolate and lay them on a separate piece of parchment. Chill them alongside the pops for about 10 minutes, until the chocolate tips are firm. If the chocolate in the bowl begins to thicken, warm it again for 10 to 15 seconds and stir until smooth.
Dip the hair
-
Hold each pop by its stick and dip the top 3/4 inch into the melted chocolate. Let the excess drip back into the bowl for a few seconds. For a textured hairstyle, press chocolate jimmies onto the wet chocolate straight away. Lay the pops flat on the tray, or stand them upright in a mug filled with dried rice, and chill for about 10 minutes, until the chocolate is firm.
Decorate the faces
-
Pipe 2 small dots of icing just below the hairline and press a candy eye onto each dot. Pipe a line for the mouth, then add short crossing lines to create stitches, and a small brow above each eye if you like. Gently push a pretzel bolt, plain end first, into each side of the pop near the bottom. Leave the pops at room temperature for about 15 minutes, until the icing has set.
Note
Keep the heat low when melting the marshmallows. This is the most important step for soft, chewy pops.
Dipping the stick in chocolate before inserting it acts as glue and stops the pops from sliding off. Make sure the chocolate has fully set before dipping the tops.
If the chocolate becomes thick or grainy, it has likely overheated. Stir in 1/2 teaspoon more coconut oil to smooth it, and use shorter heating intervals next time.
Store the finished pops in a single layer, or with parchment between layers, in an airtight container at room temperature for up to 3 days. To give them as gifts, wait until the chocolate and icing are completely set, then place each pop in a cellophane treat bag and tie it closed. Avoid long storage in the refrigerator, as the pops firm up and moisture can smudge the chocolate and icing. Freezing is not recommended once decorated.
To make ahead, prepare and cut the green bars up to 1 day in advance and keep them tightly wrapped at room temperature. Add the sticks and decorate on the day of serving, or the evening before, so the pretzel bolts stay crisp.